As winter tree branches begin to dry up in my backyard, I figured there must be uses for them besides firewood. In my yard, I have large mesquite trees which are known for their long, limber branches and messy leaves. I trimmed off some branches that had shed most of their leaves but were still slightly flexible (aka green inside). I decided to upcycle the lovely branches into a pretty wall wreath decoration for my home.
For this project, you could skip over making your own wreath and just use a store-bought one. Though, if you’ve got some trees near you and are wondering what you can do with their branches, then look no further.
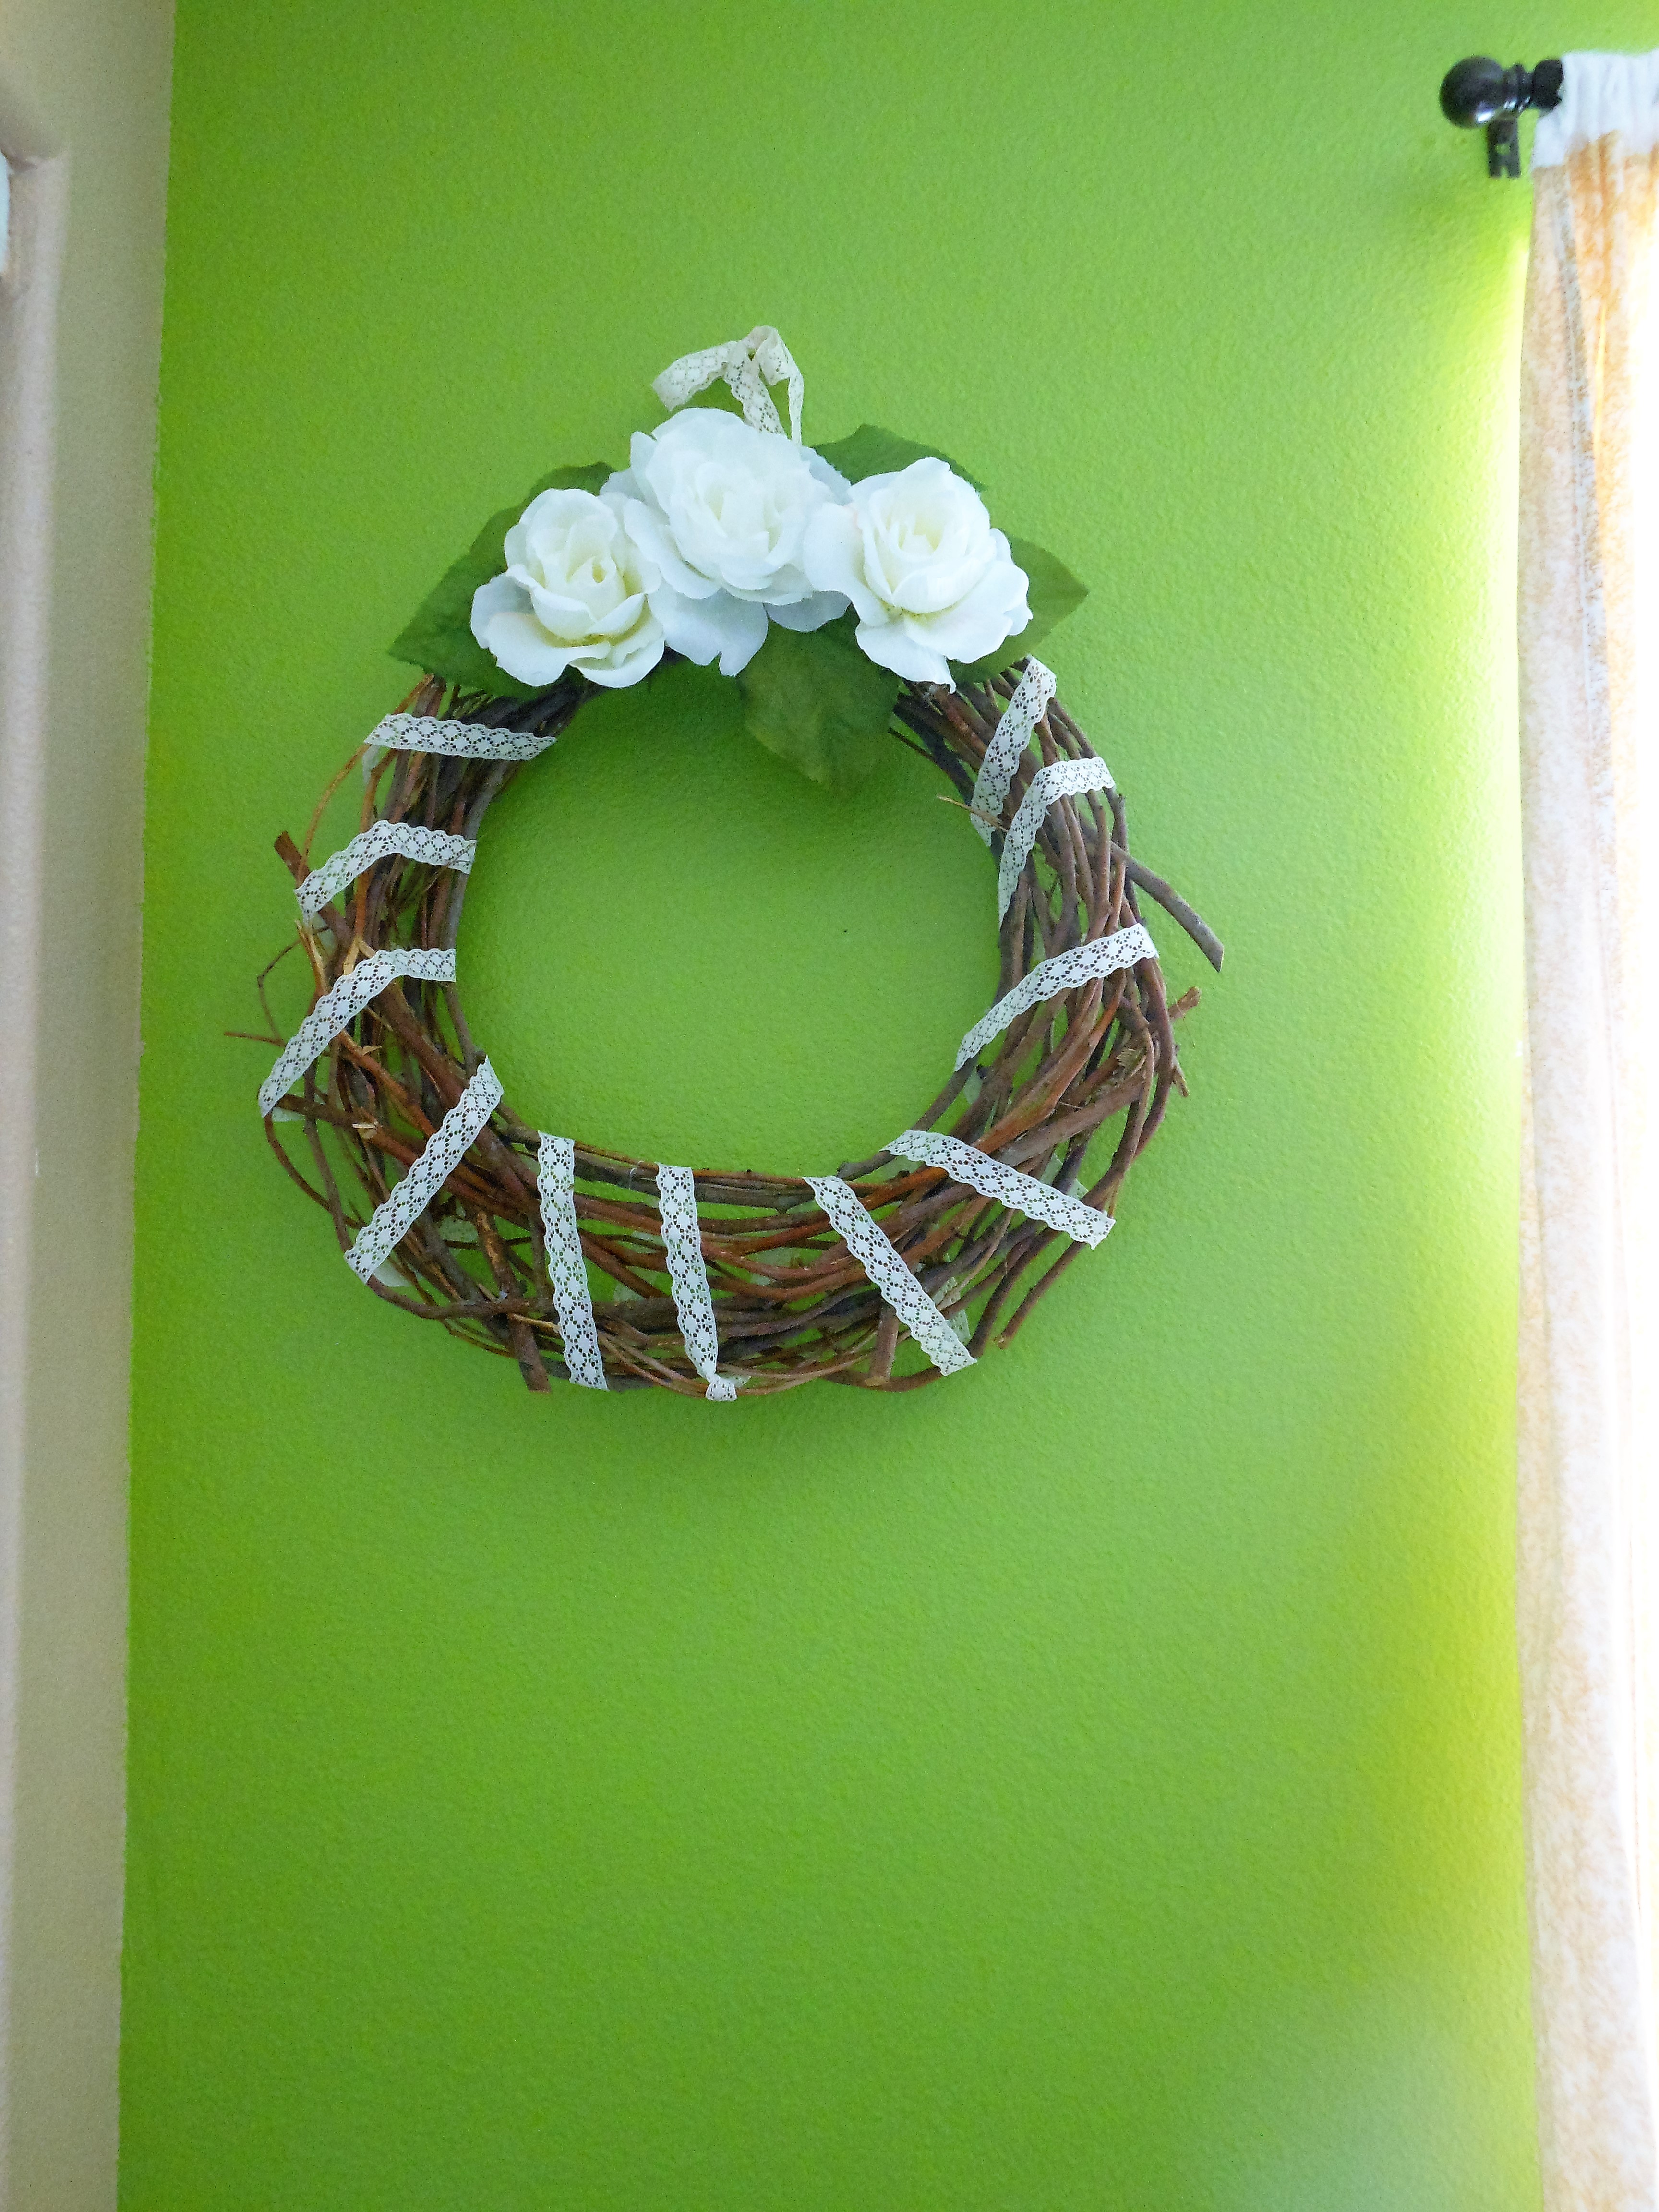
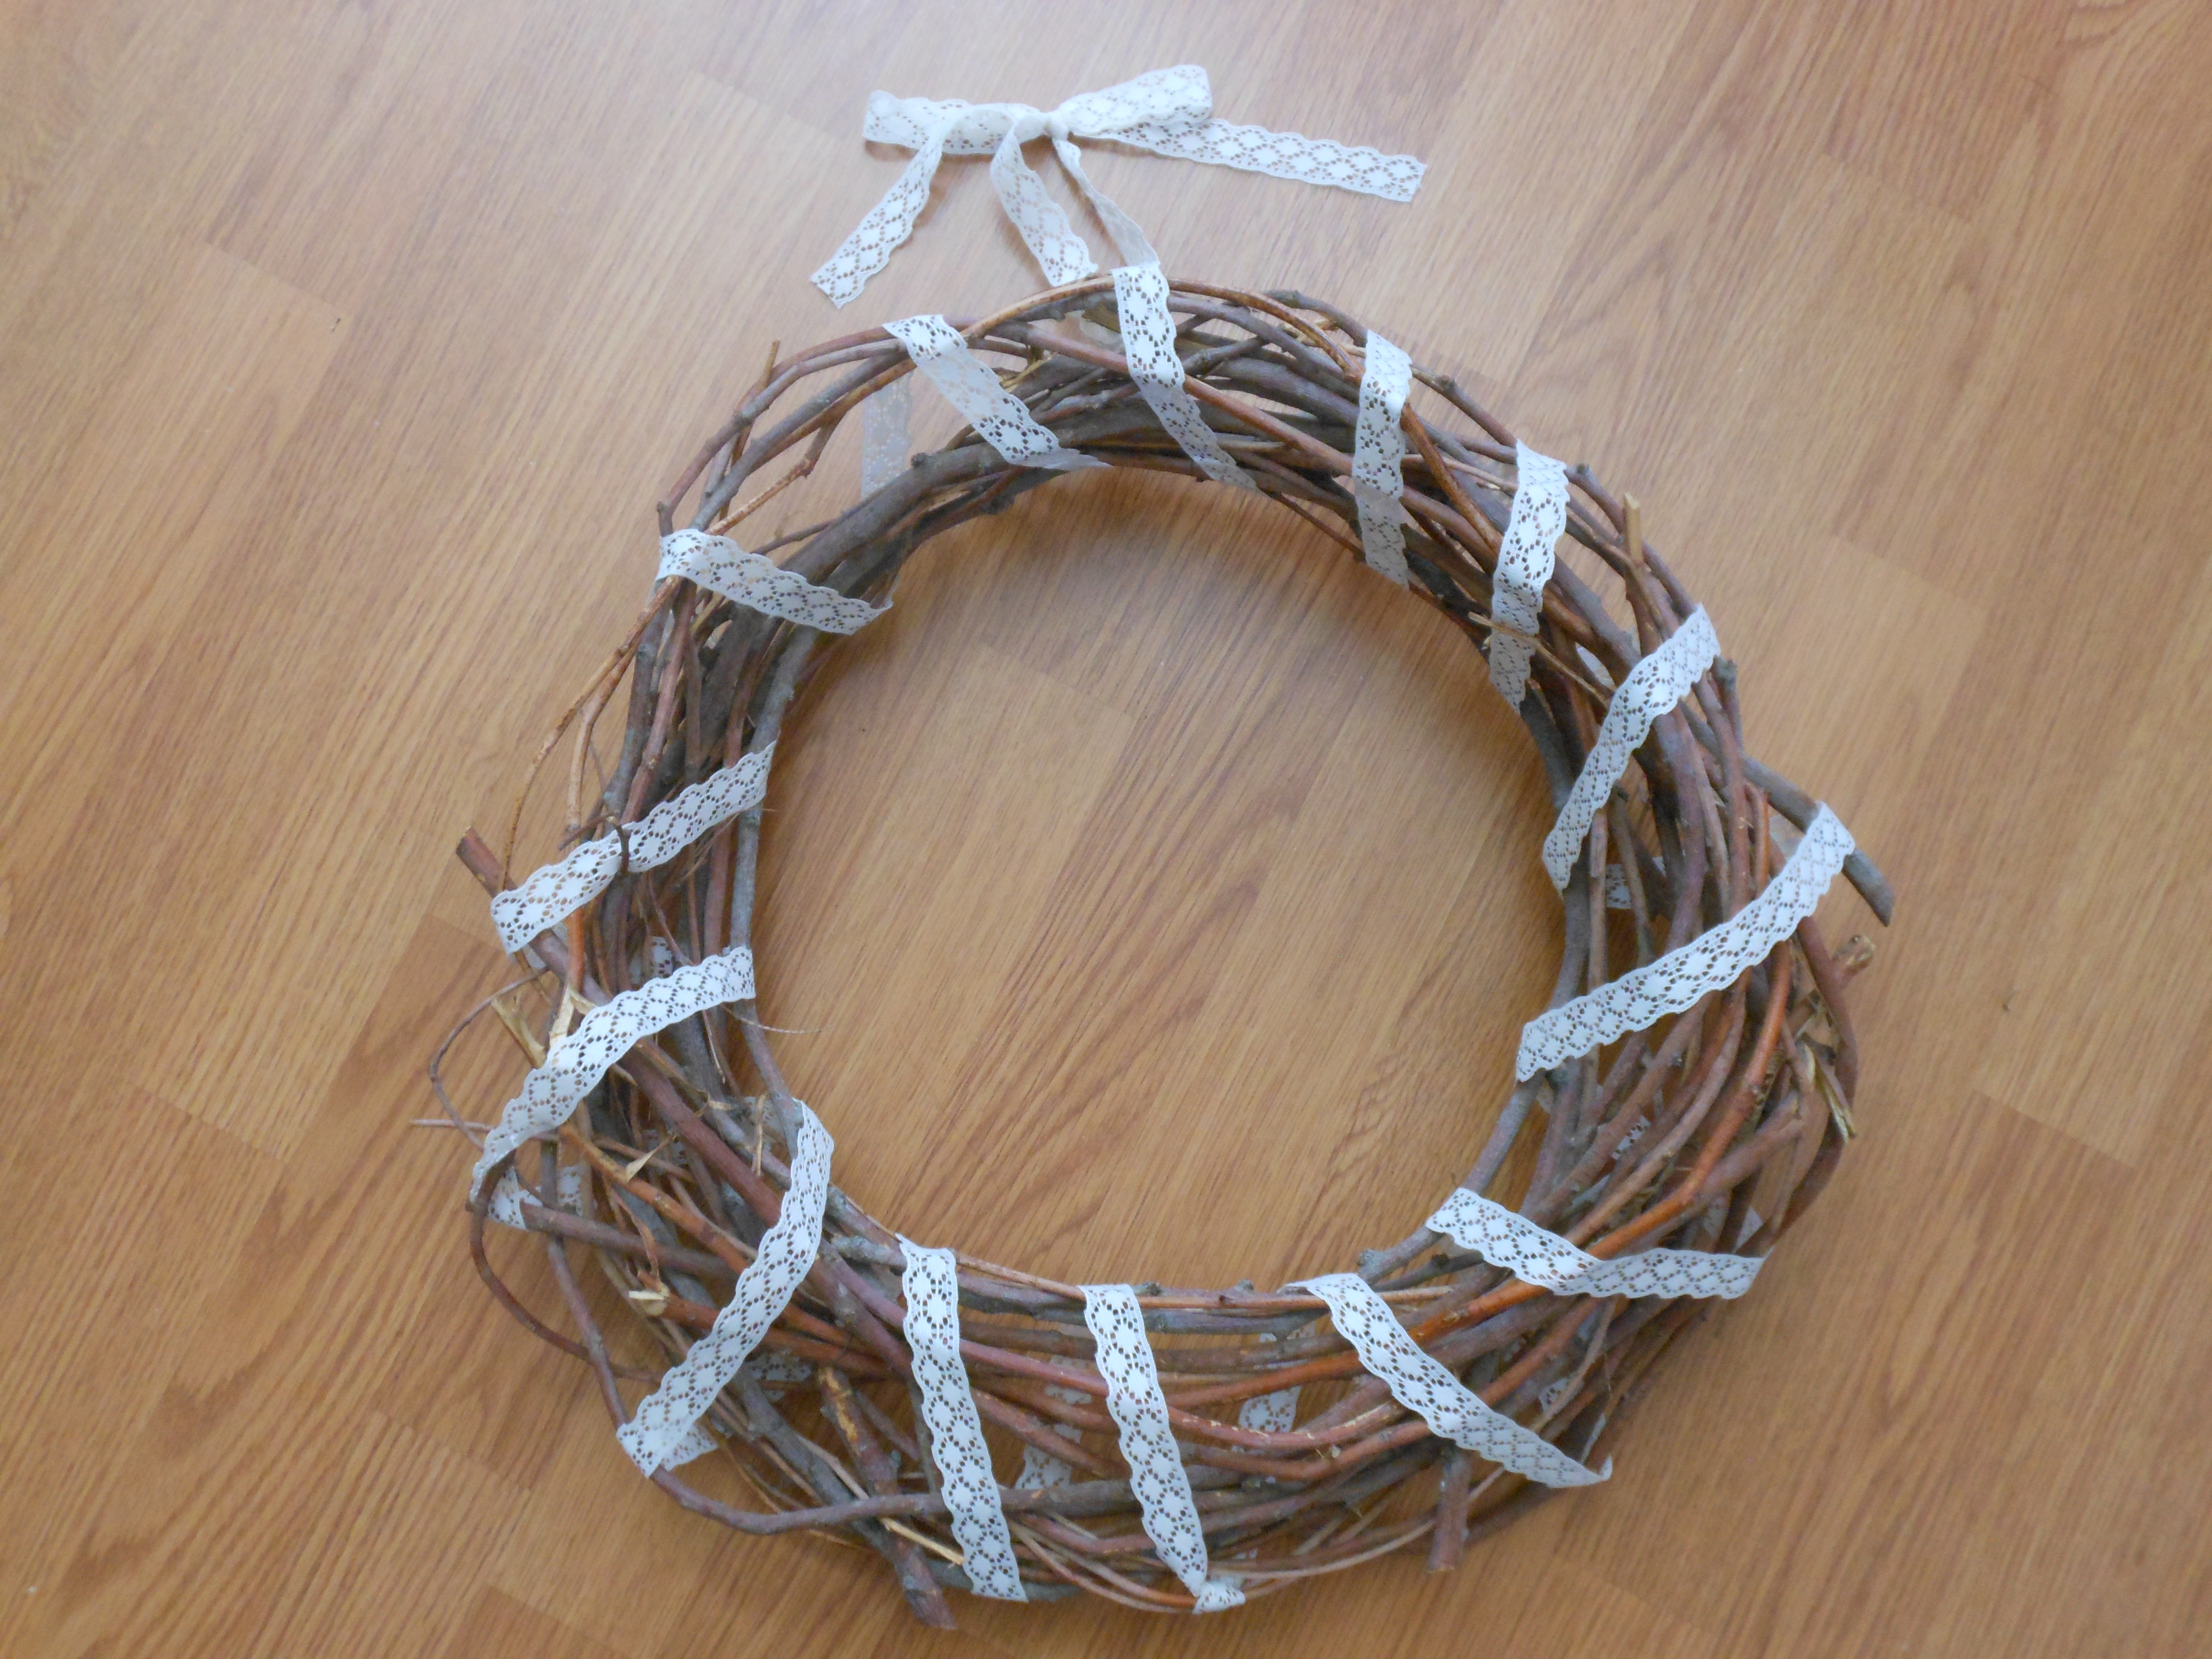
I love rustic wreaths as they are but the branches can totally be dressed up to look more chic to fit anywhere in your home. *I’ll include notes at the bottom for how I made the wreath itself. Keep on reading to see how I decorated the wreath for hanging on a wall.
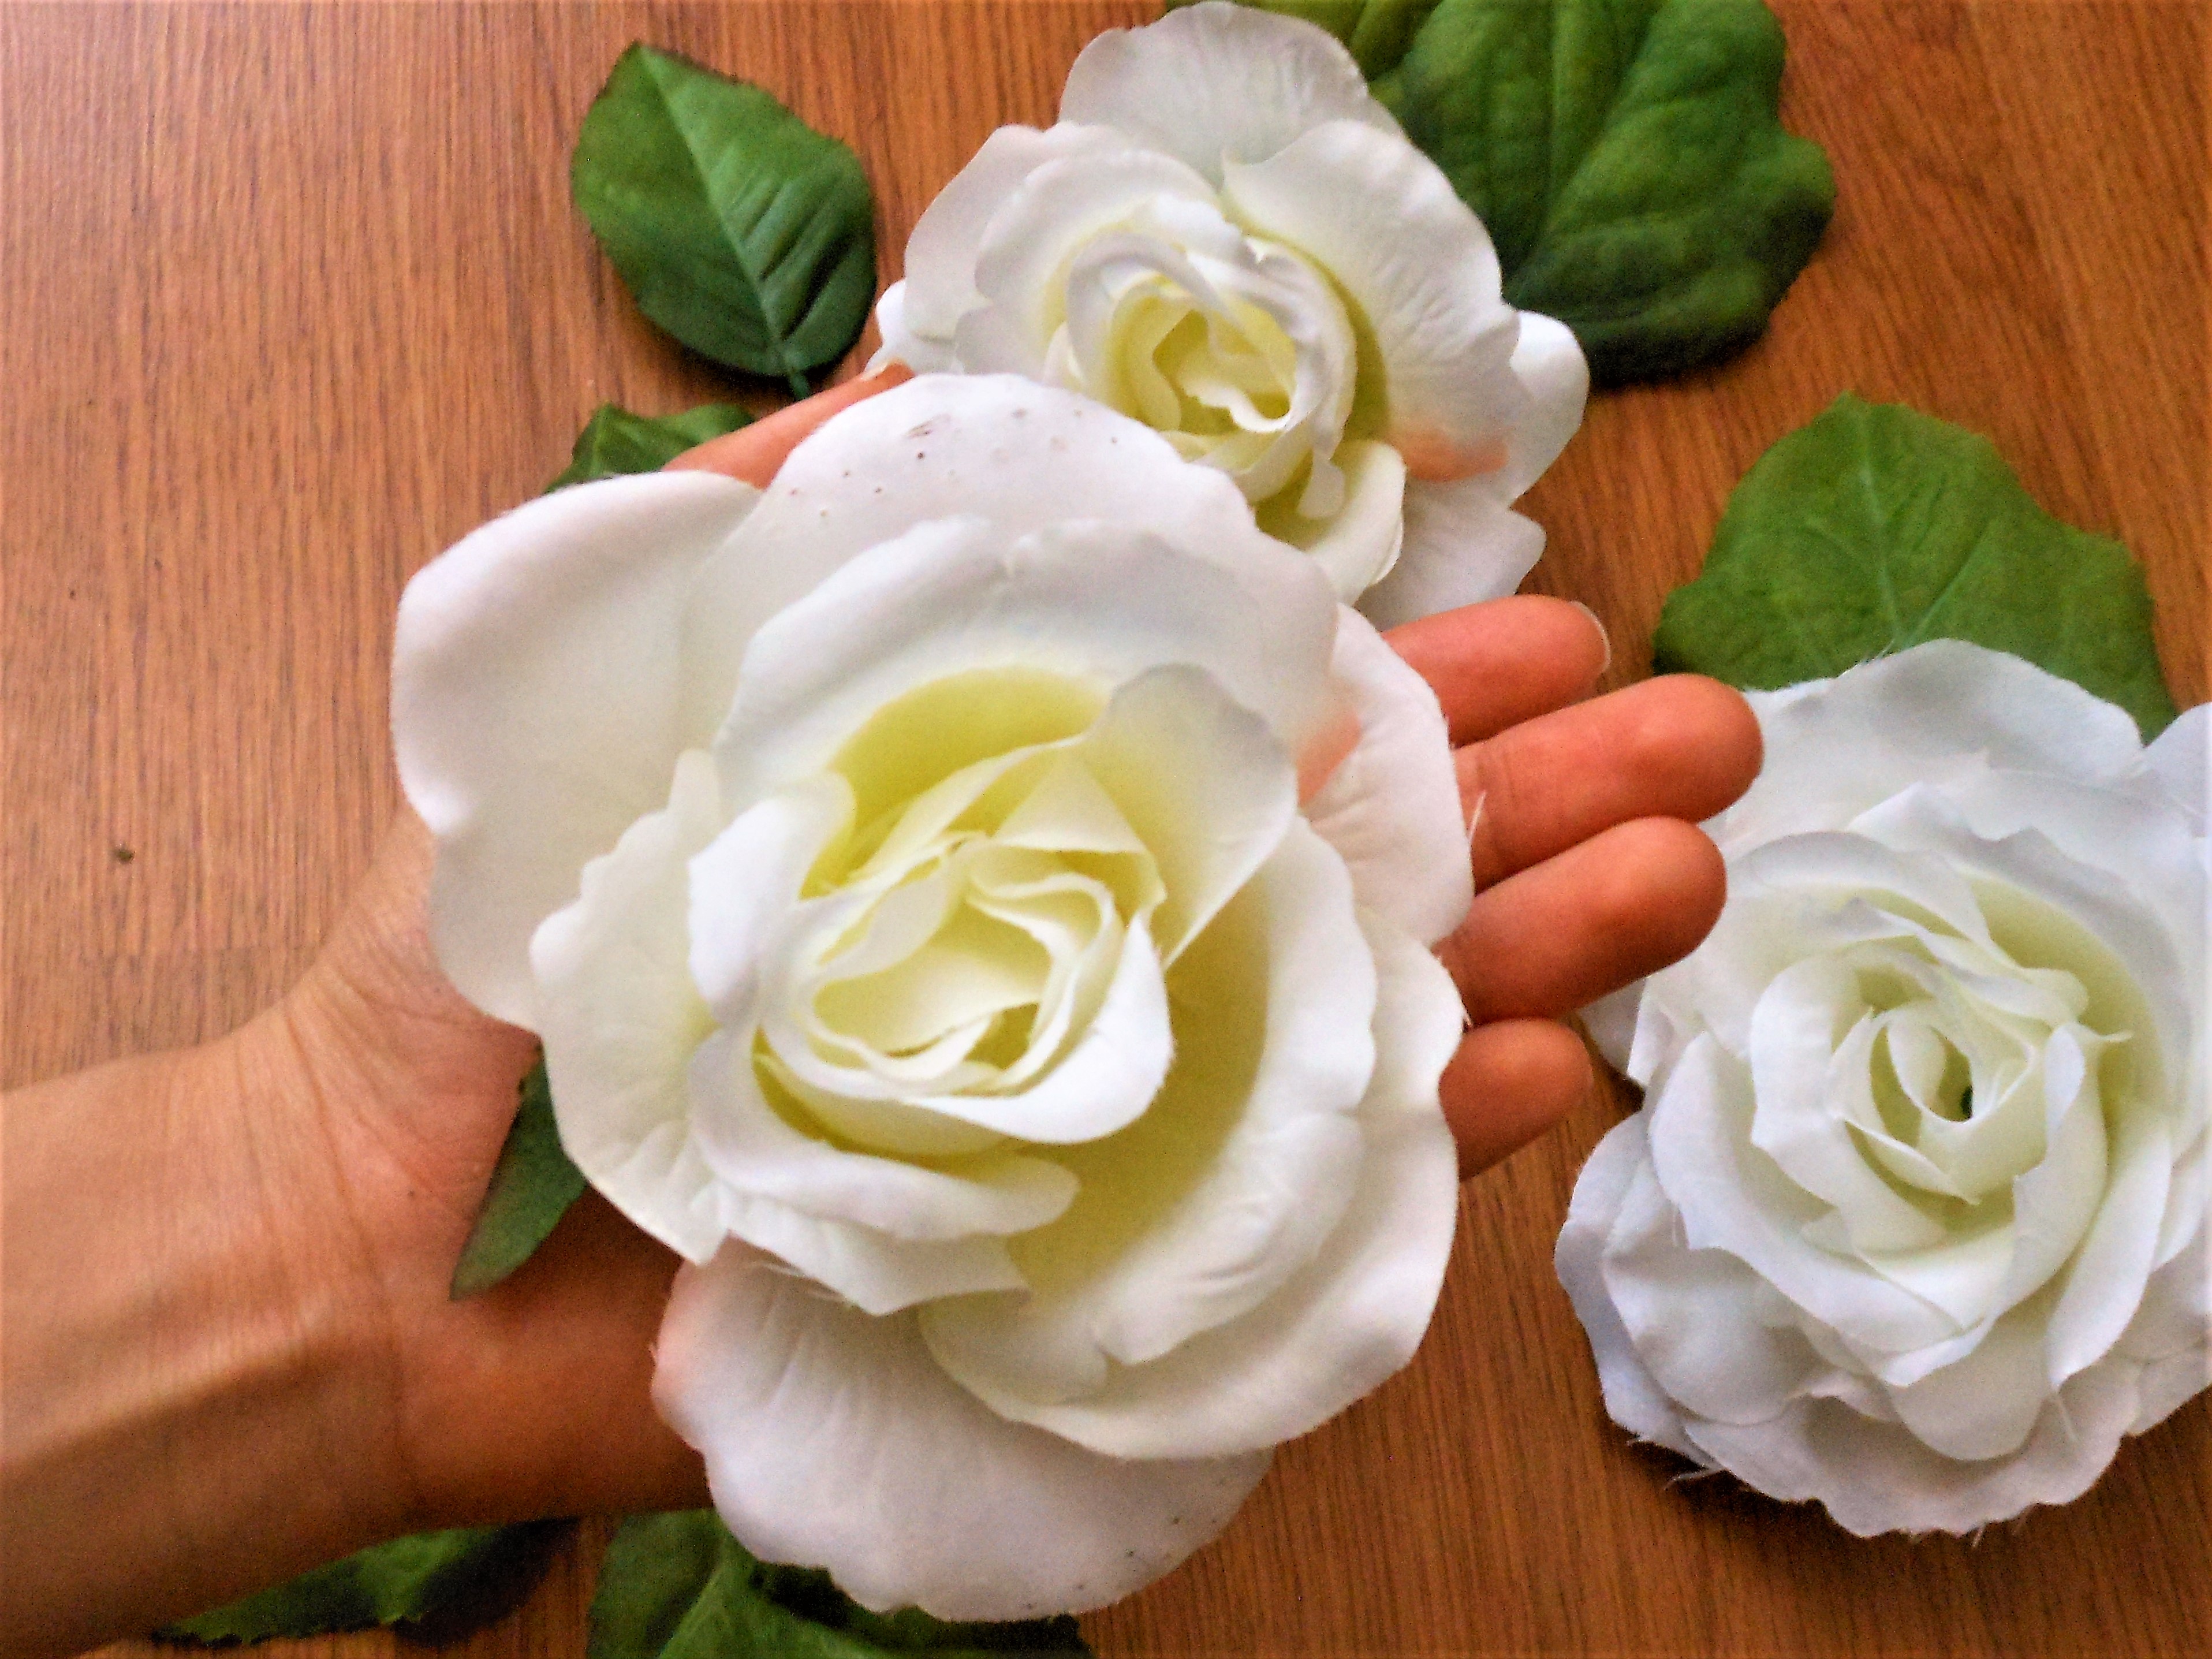
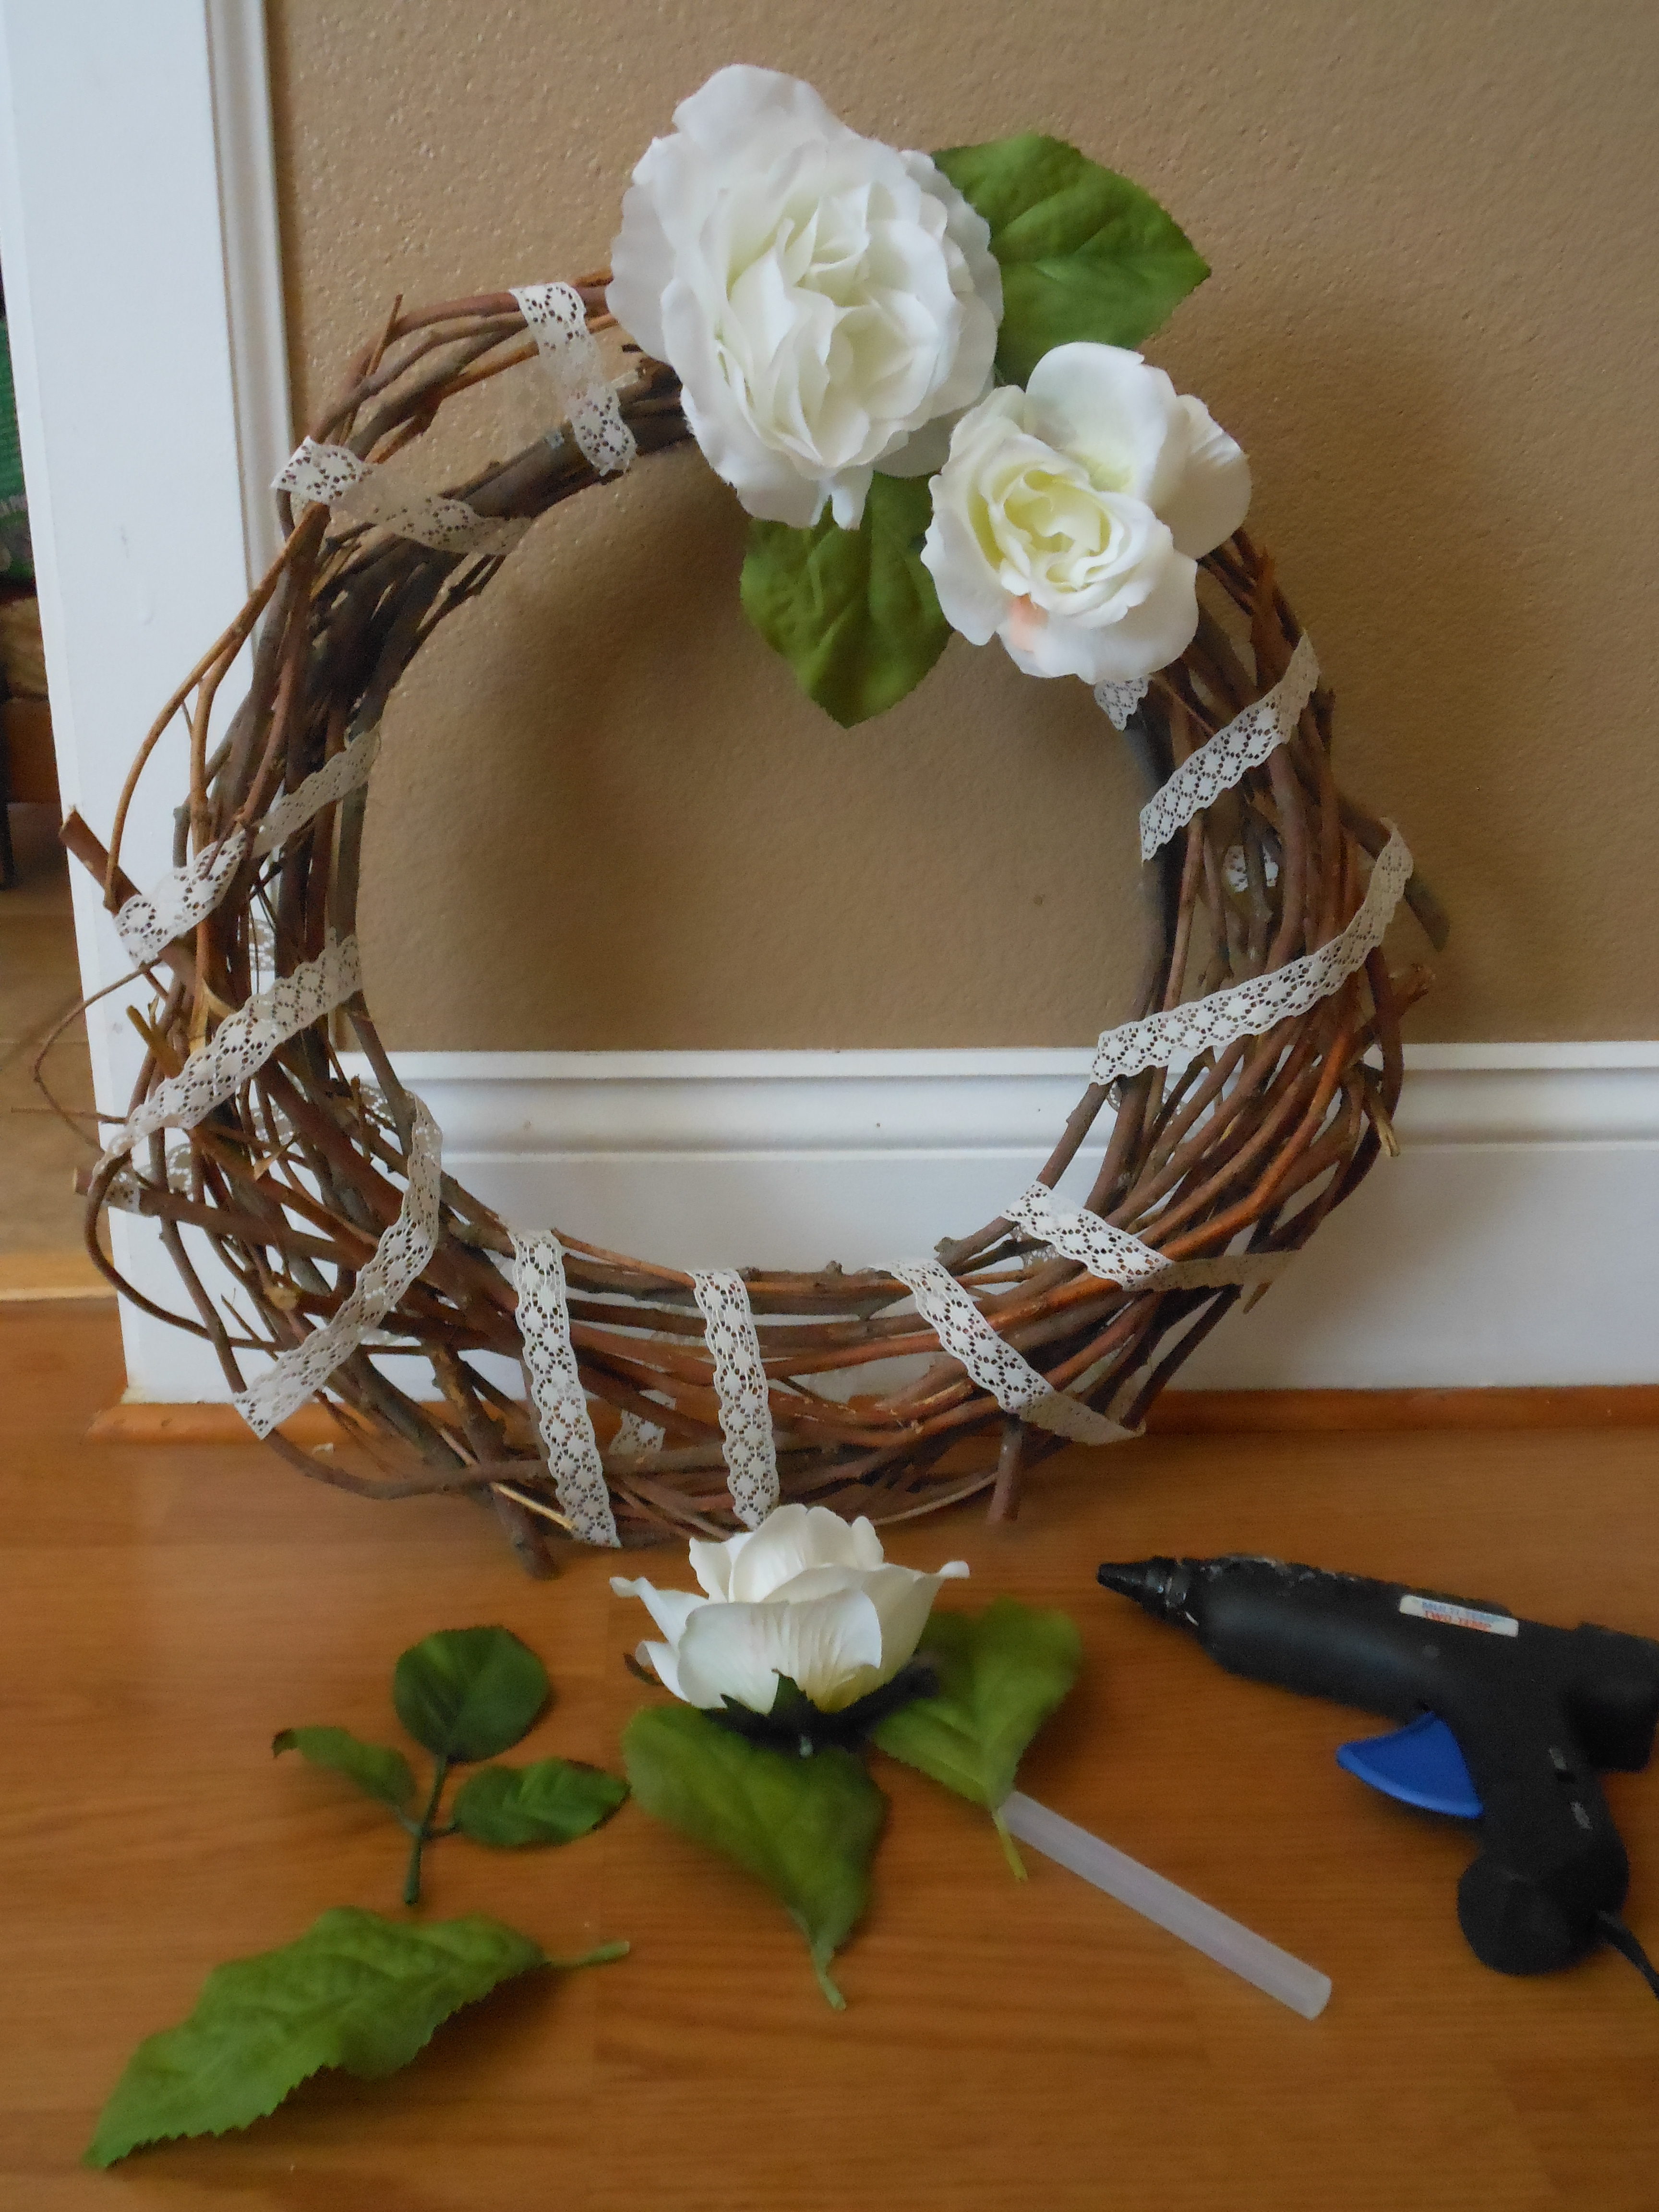
I like the rustic wooden look so I only want to complement the branches, not conceal them. A long lace ribbon and some flowers helped me do just that. I went with white but light pink would look lovely, too. Use whatever colors suit your home. **Also, feel free to use objects like bells, artificial fruit, or other knick-knacks in place of or in addition to flowers.
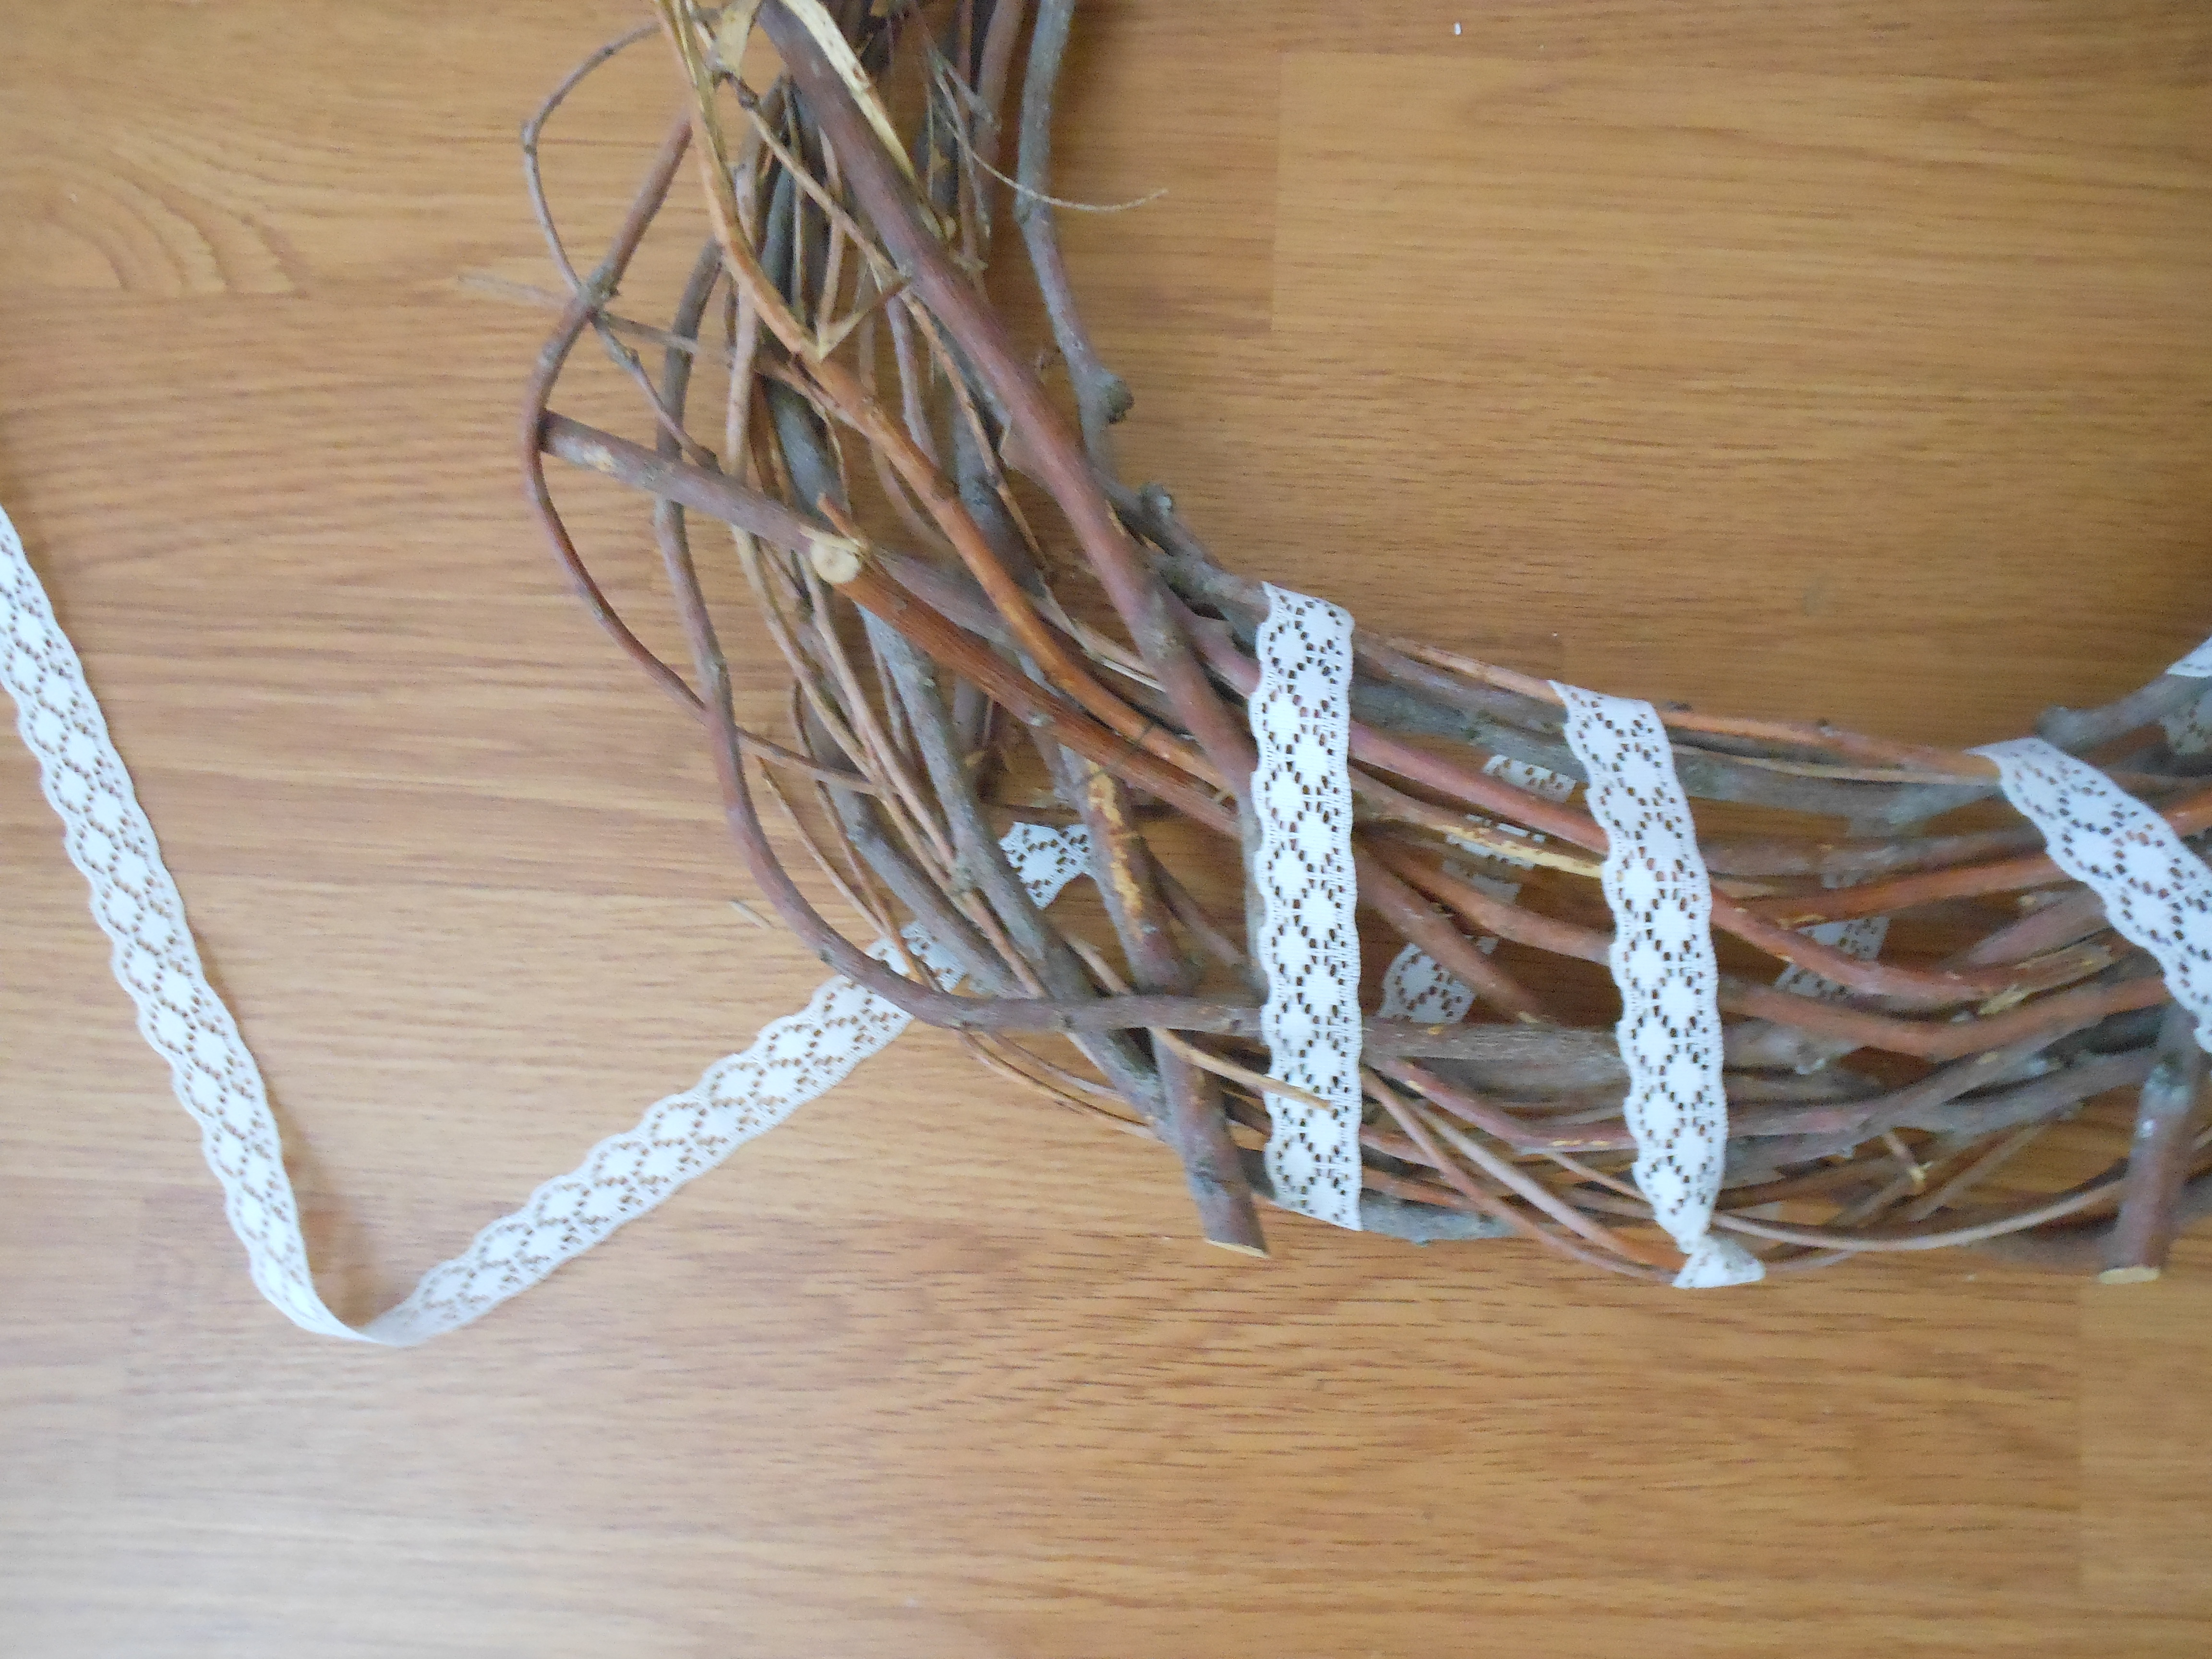
Examine your wreath and find a center point that appears to be thinnest (note: store-bought wreaths may not appear to have a thinner spot so choose any point). The thinnest point on the wreath will be the best place to fill with flowers or other large objects. So, across from it, we will want to start with the ribbon.
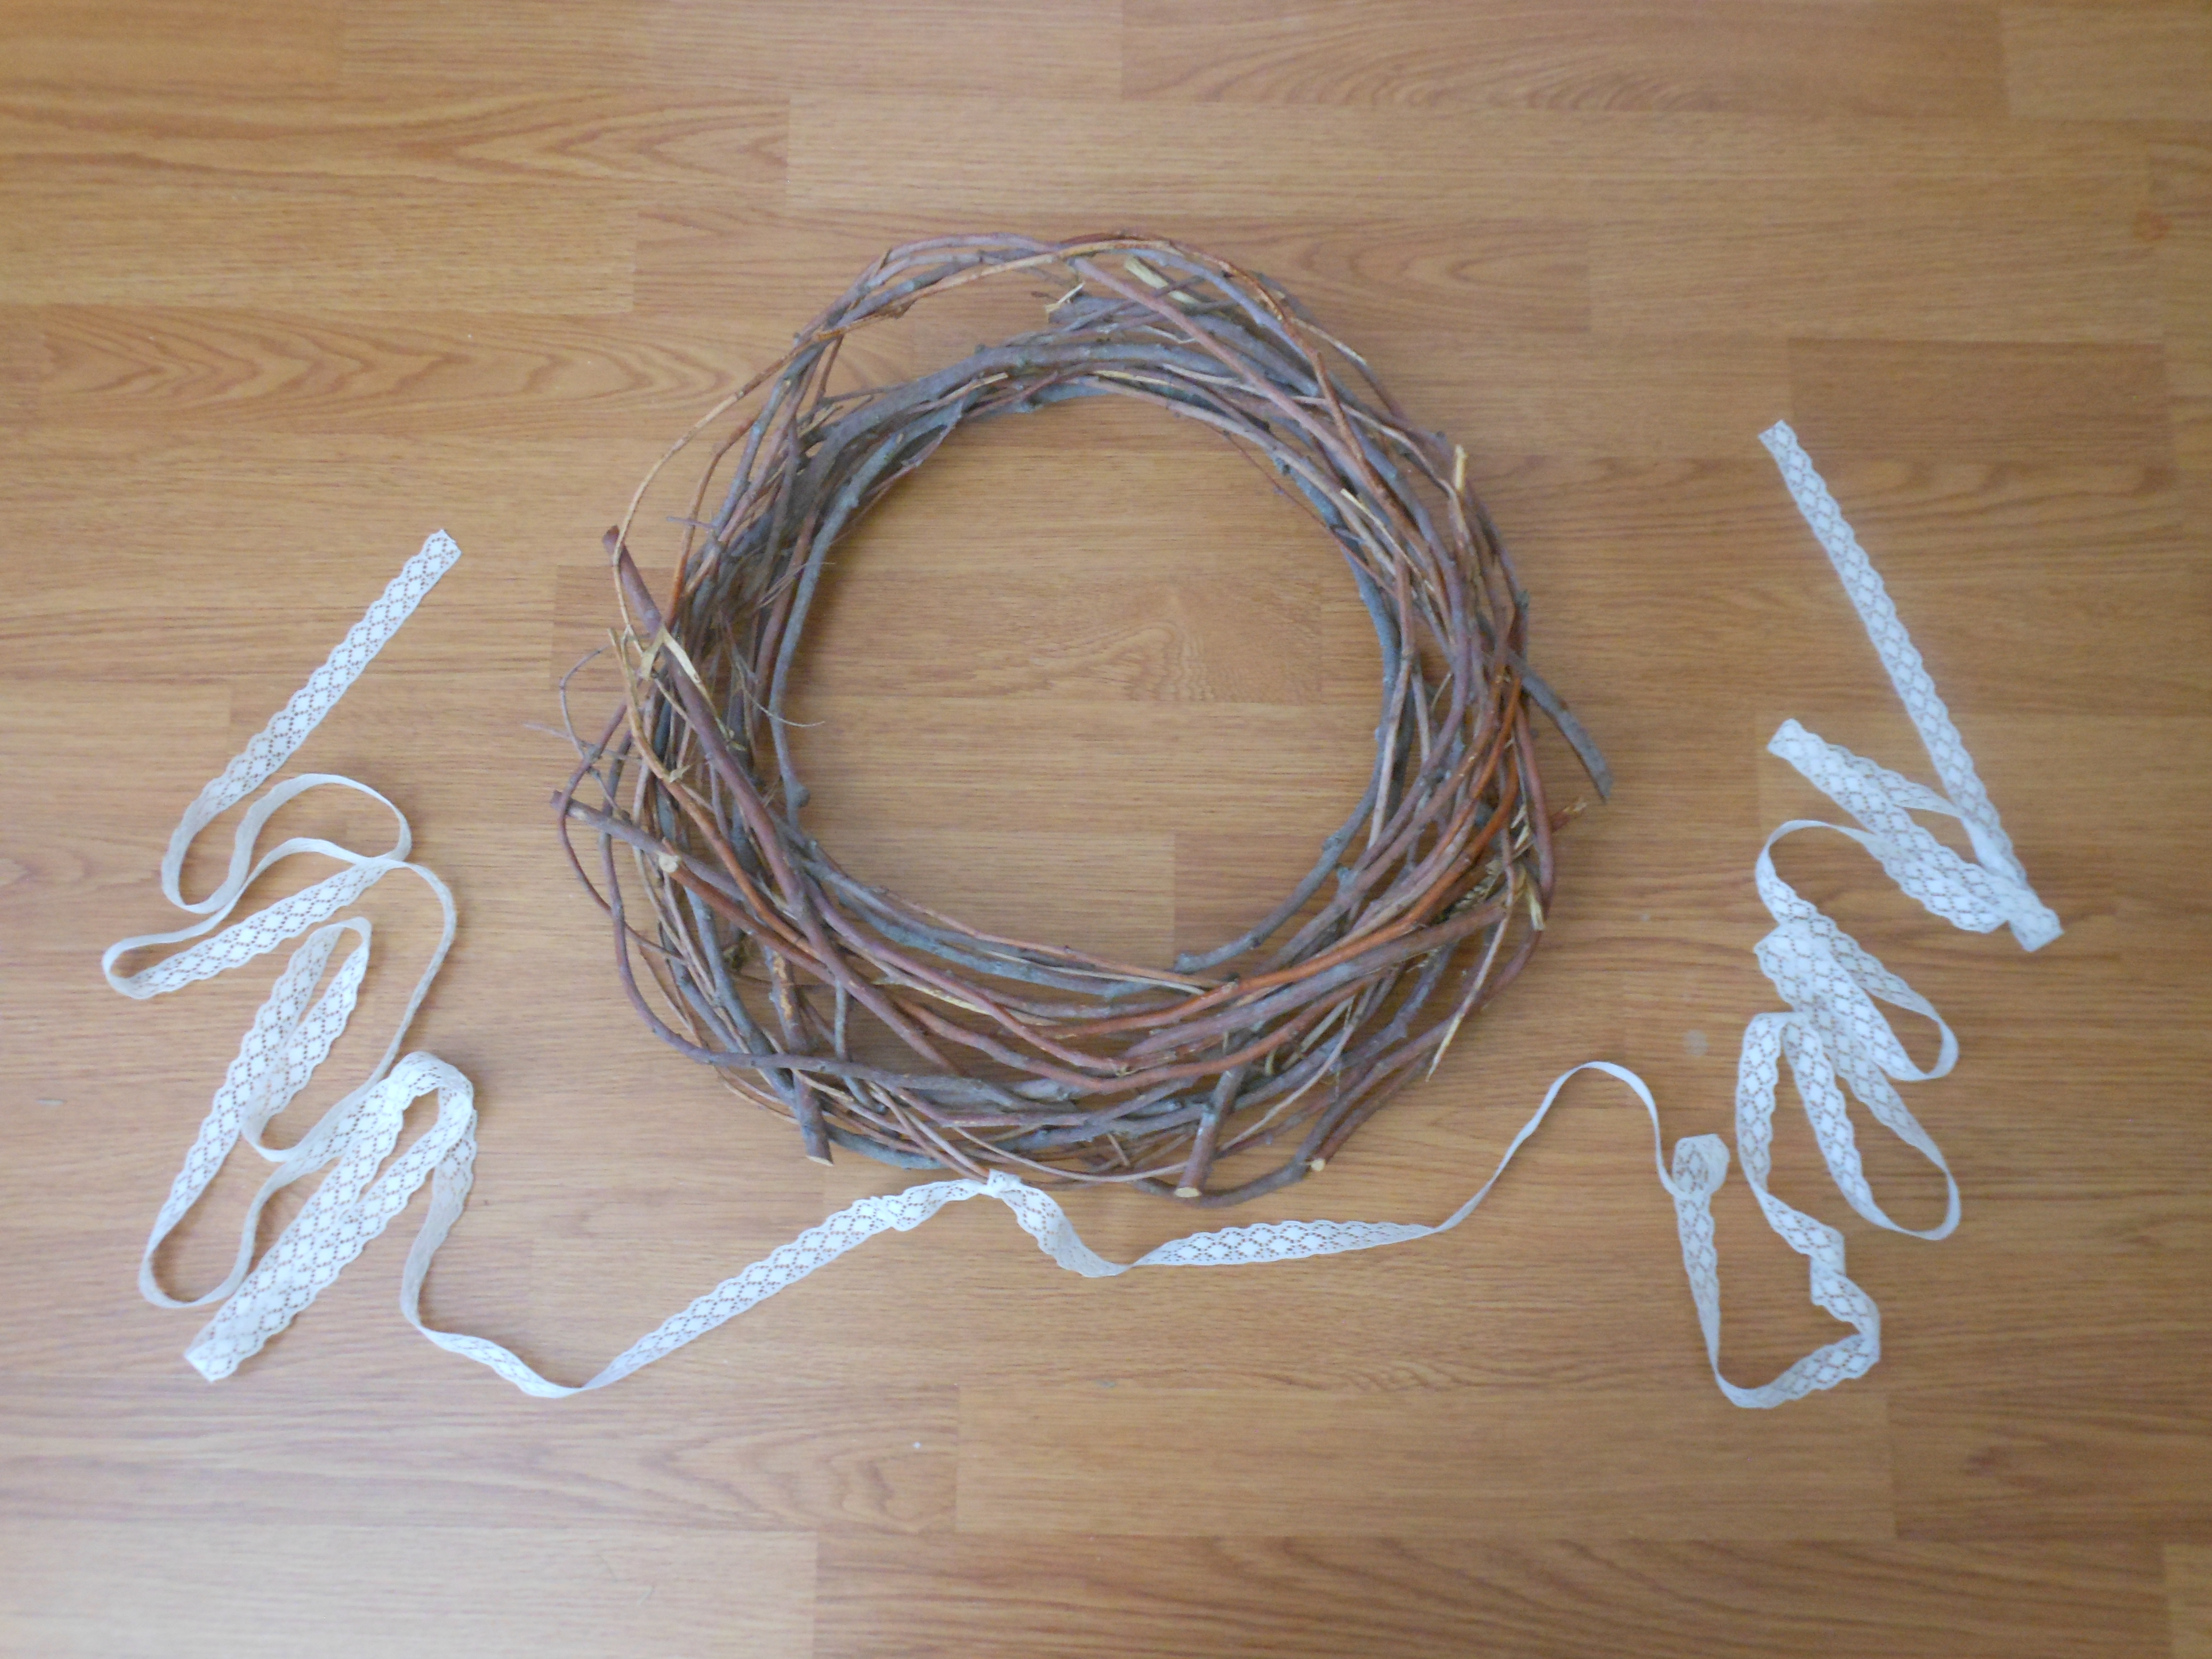
I tied a simple knot on a branch and placed the ribbon over the branches. Each end of the ribbon should be circling the wreath in different directions. I took one end of the ribbon and circled it to the left of the wreath, bringing it forward, up, and then behind the wreath. Bring it underneath the wreath and forward again. Repeat until the ends of the ribbon make it to the top (thinnest) point. Make sure to keep the ribbon flat, not twisted, for the cleanest appearance. Do the same for the right side of the wreath, except take the ribbon underneath, behind the wreath, and then forward and underneath again. Continue until the ribbon end meets the other at the top.
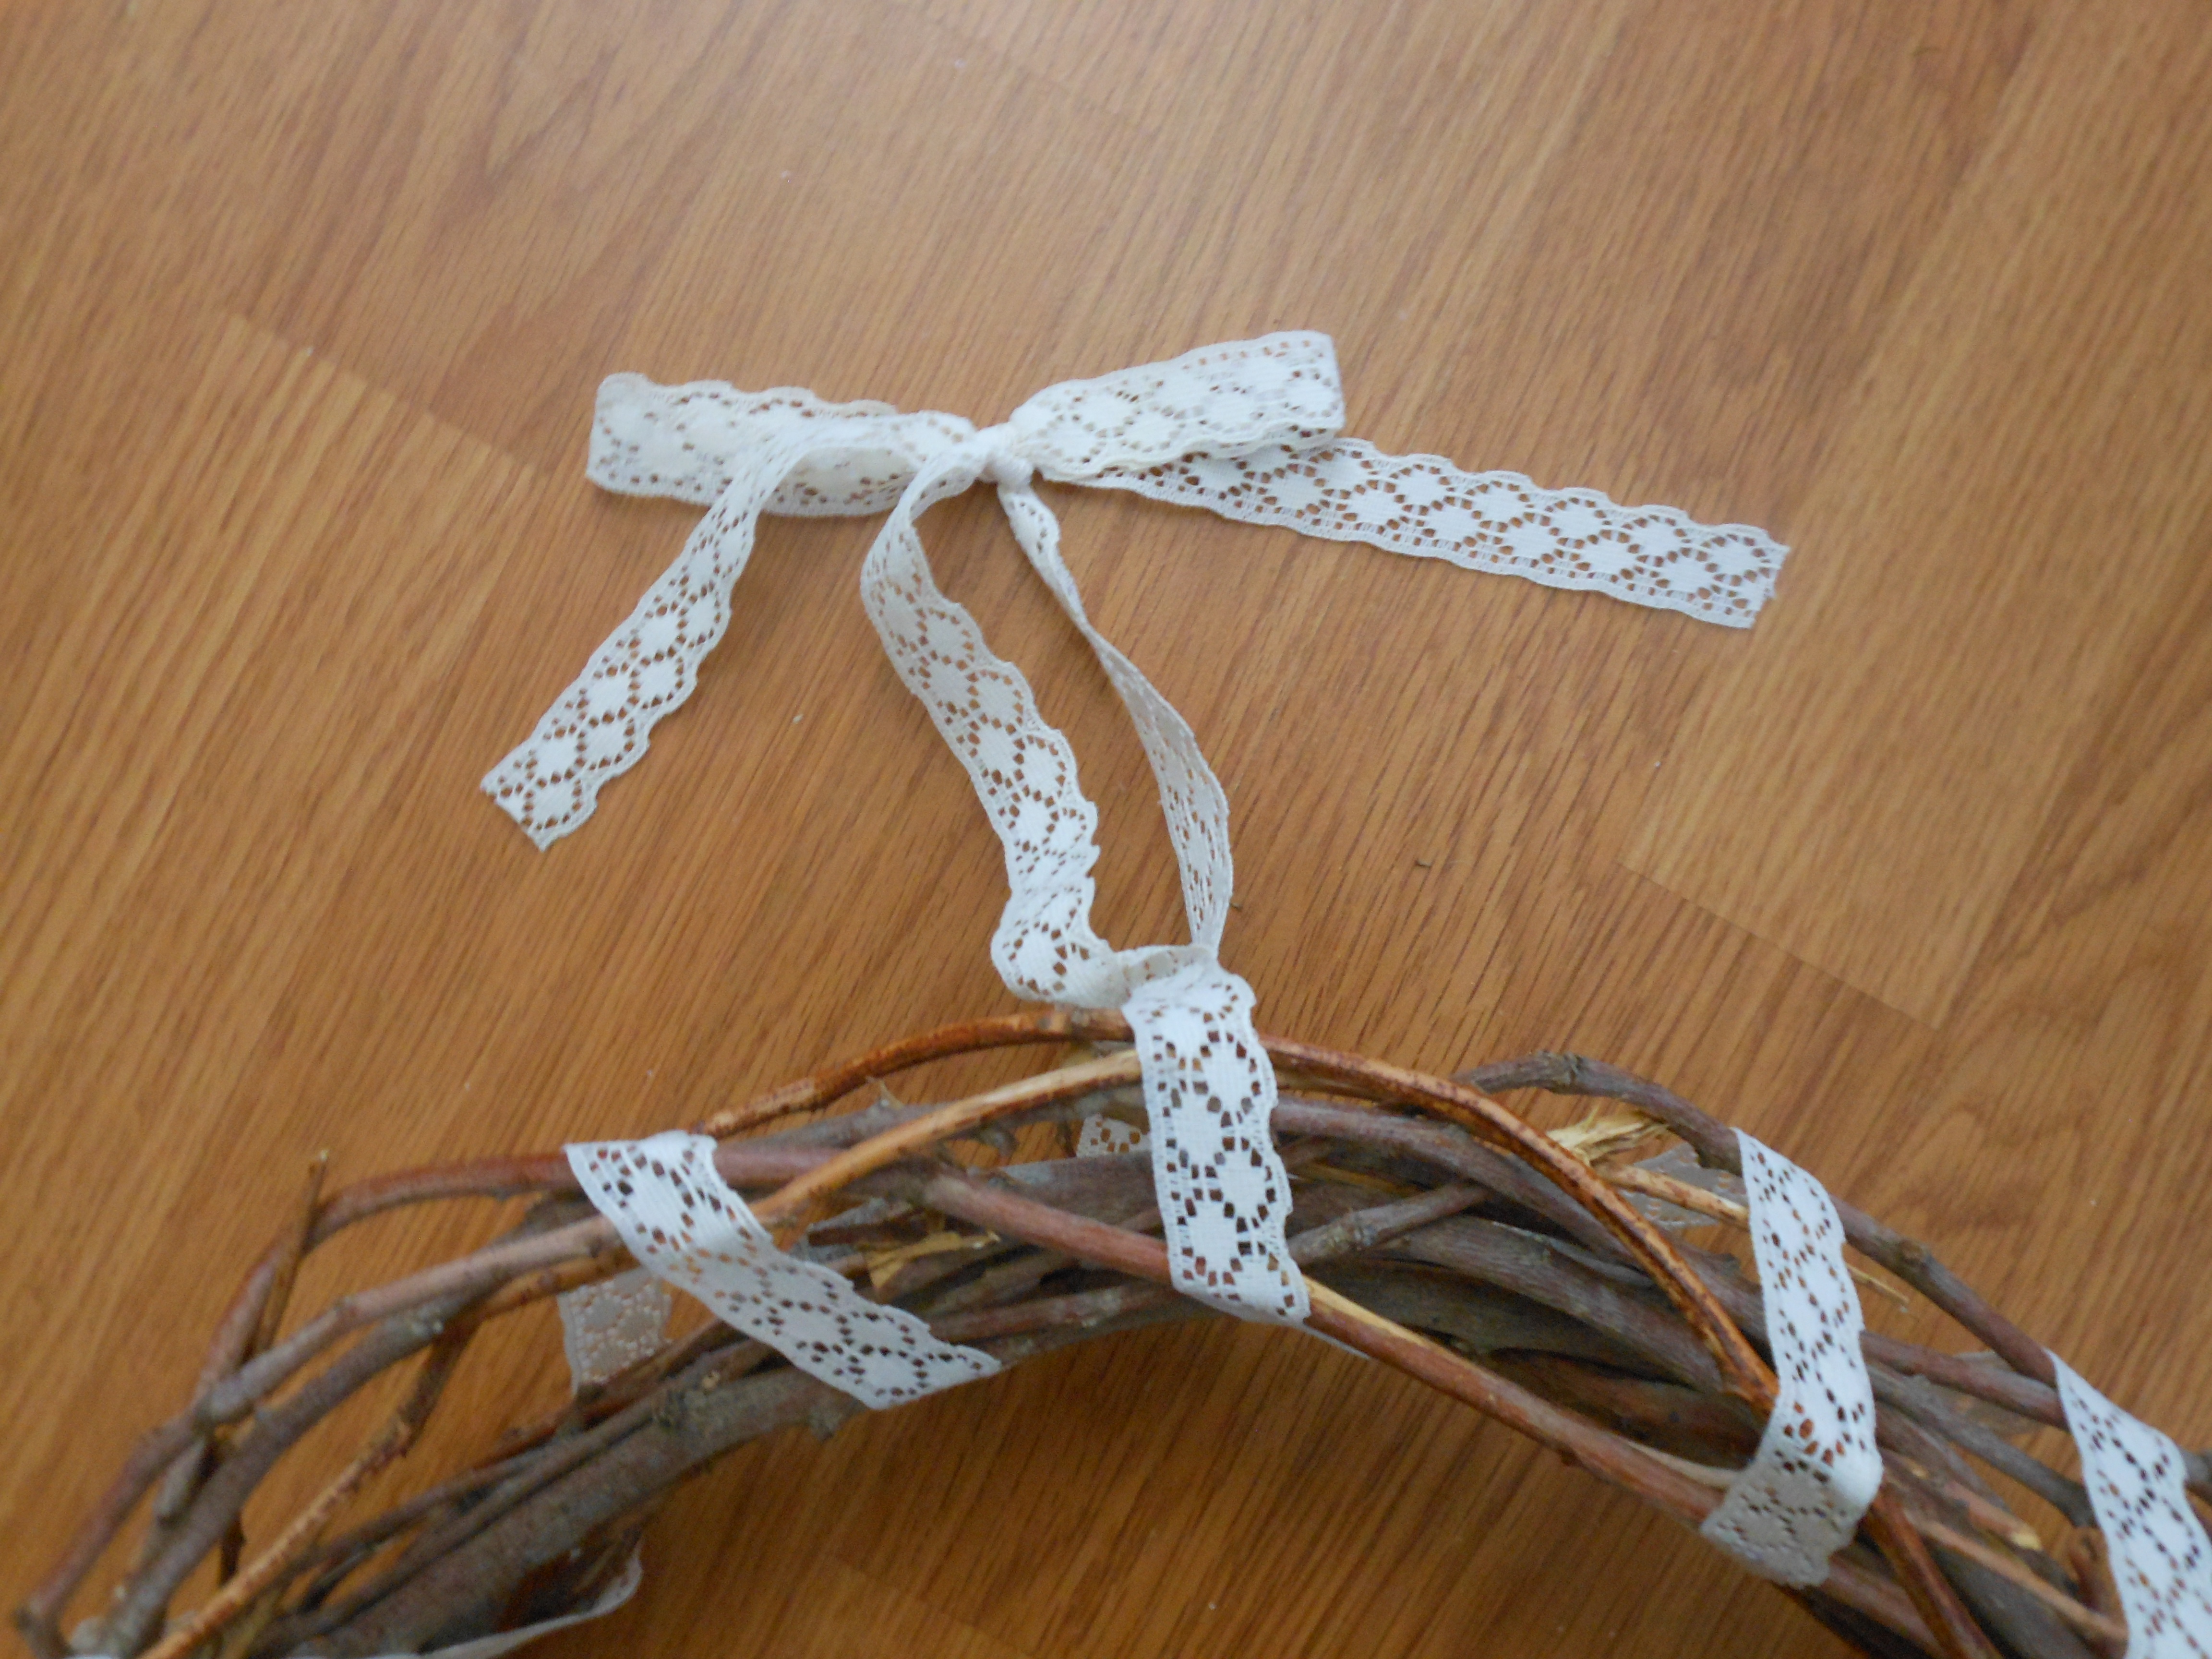
I had extra long ribbon so I tied the ribbon ends together to make a hanger for the wreath. This is optional though. Alternatively, knot the ribbon ends together or use hot glue to attach them. Later, hang the wreath with a hammer and extra long nail. You may also add a sawtooth hanger, like the ones on the back of picture frames.
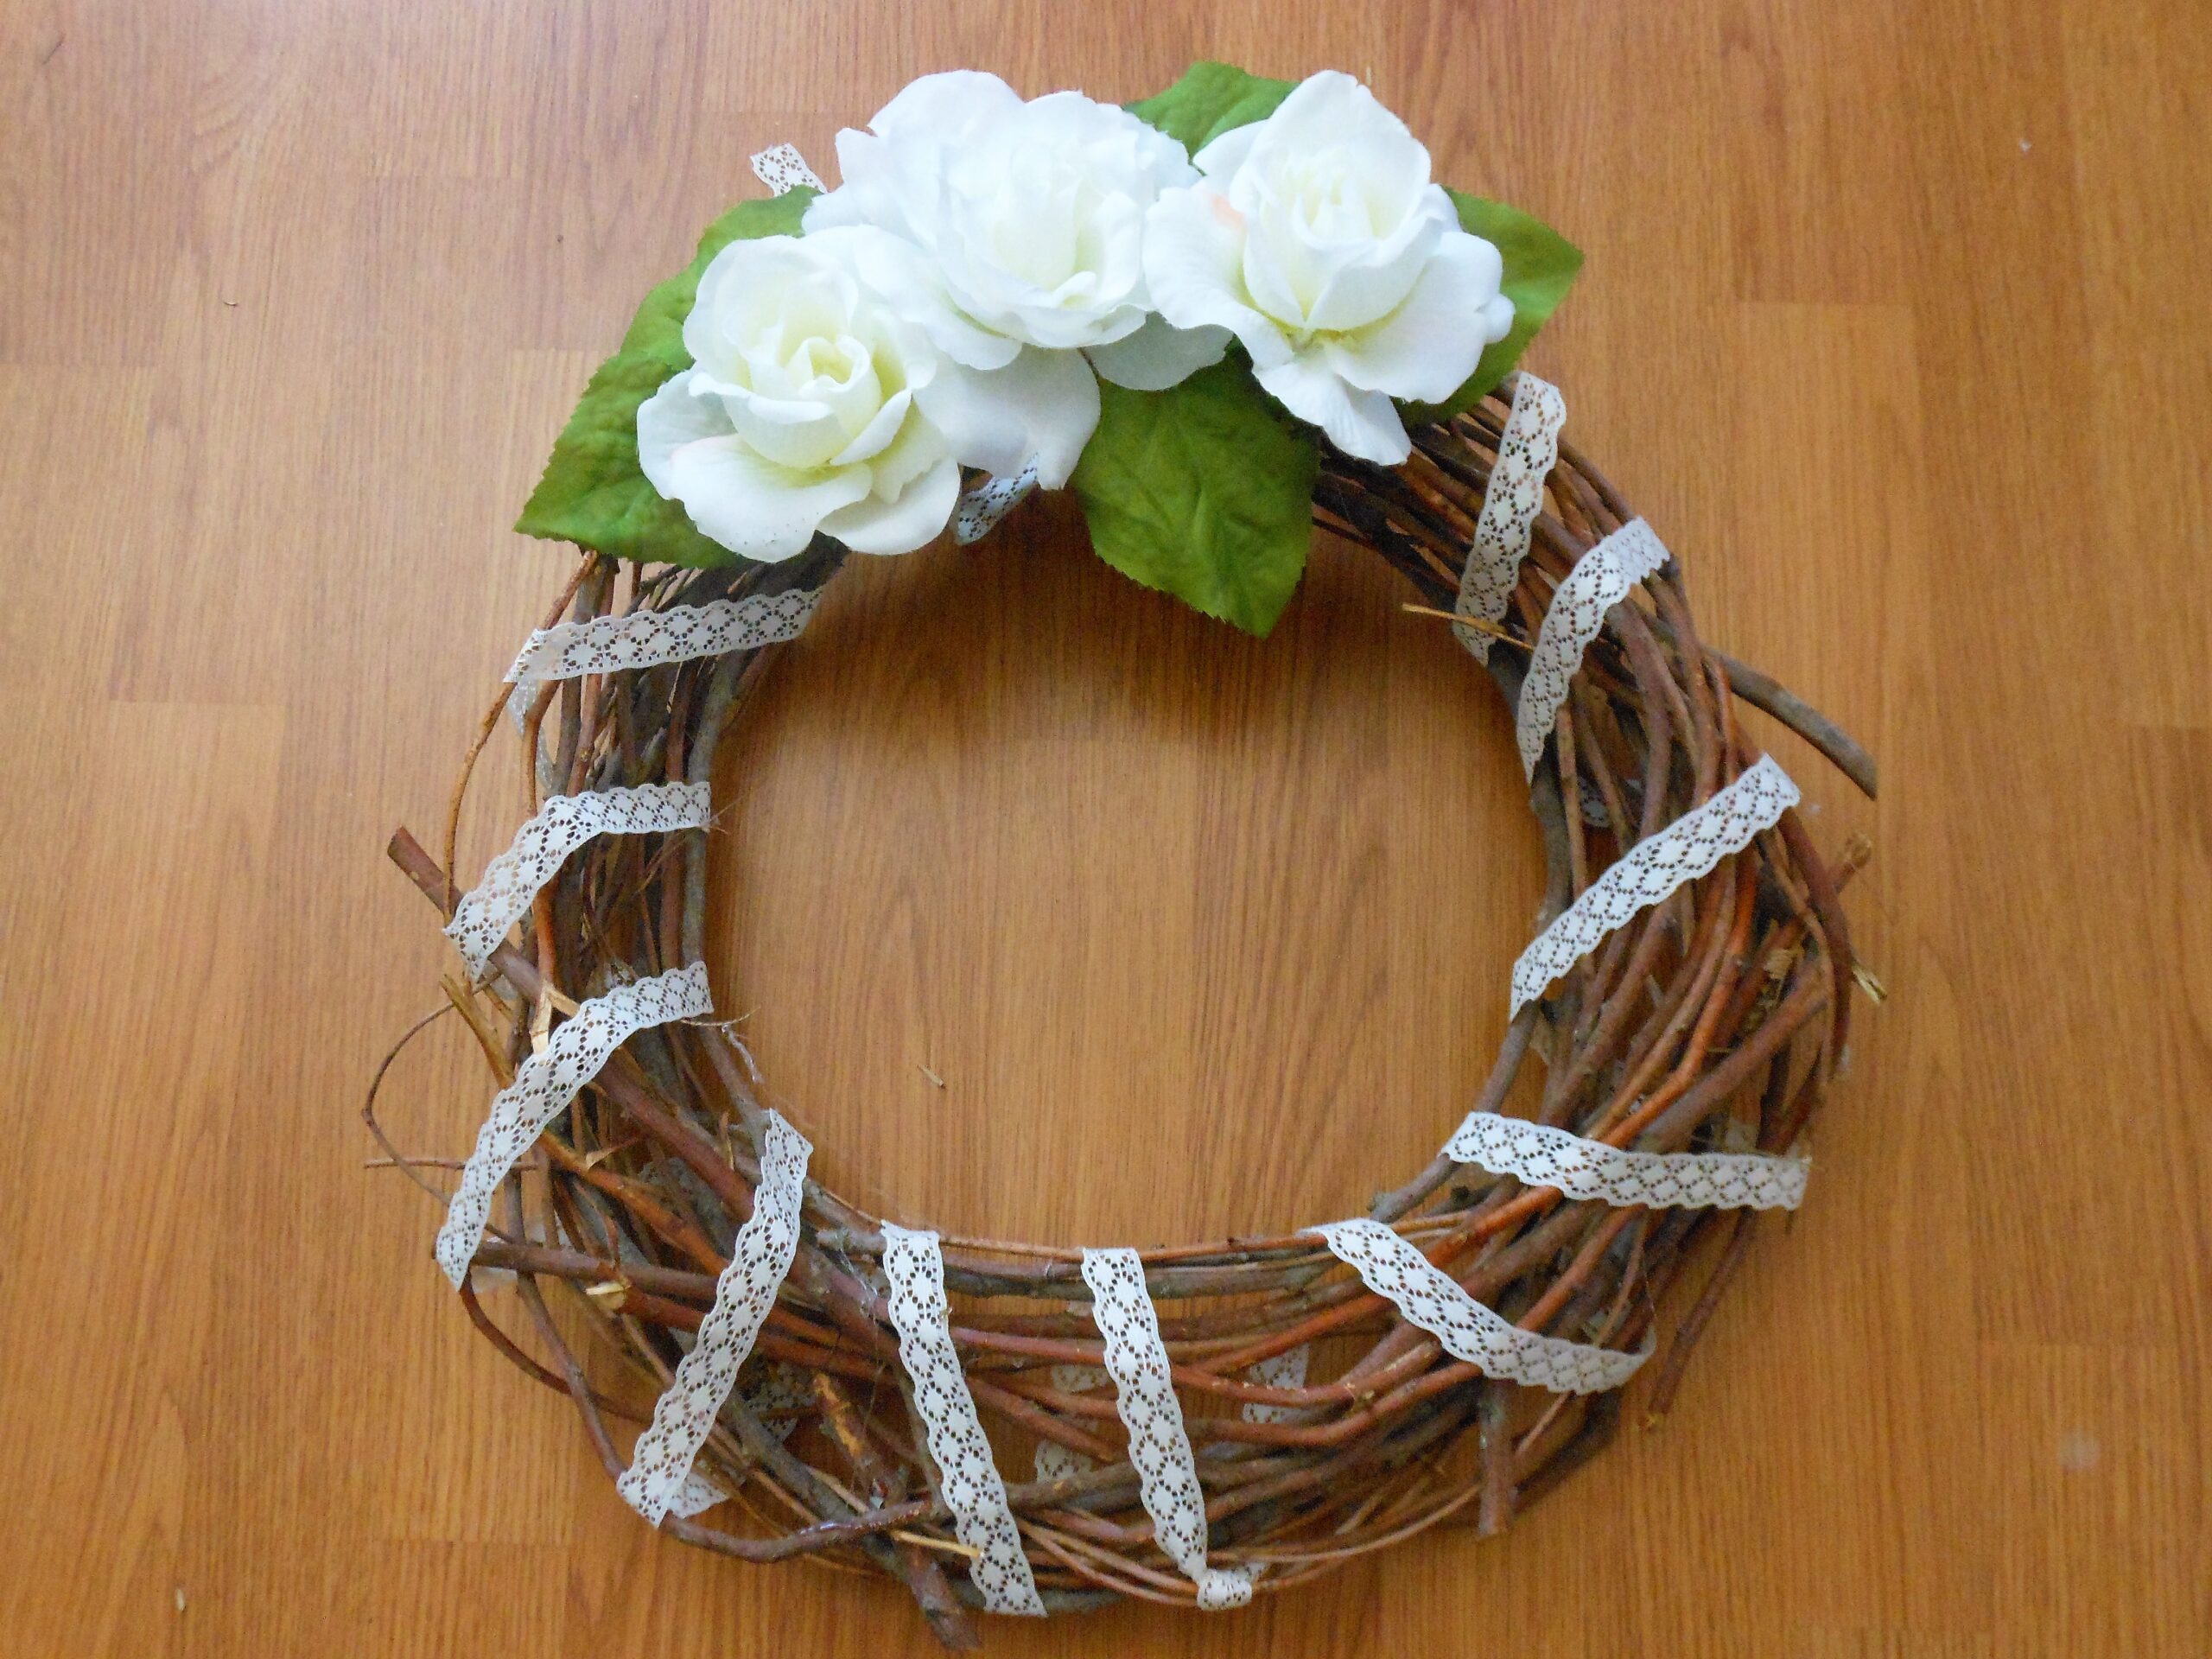
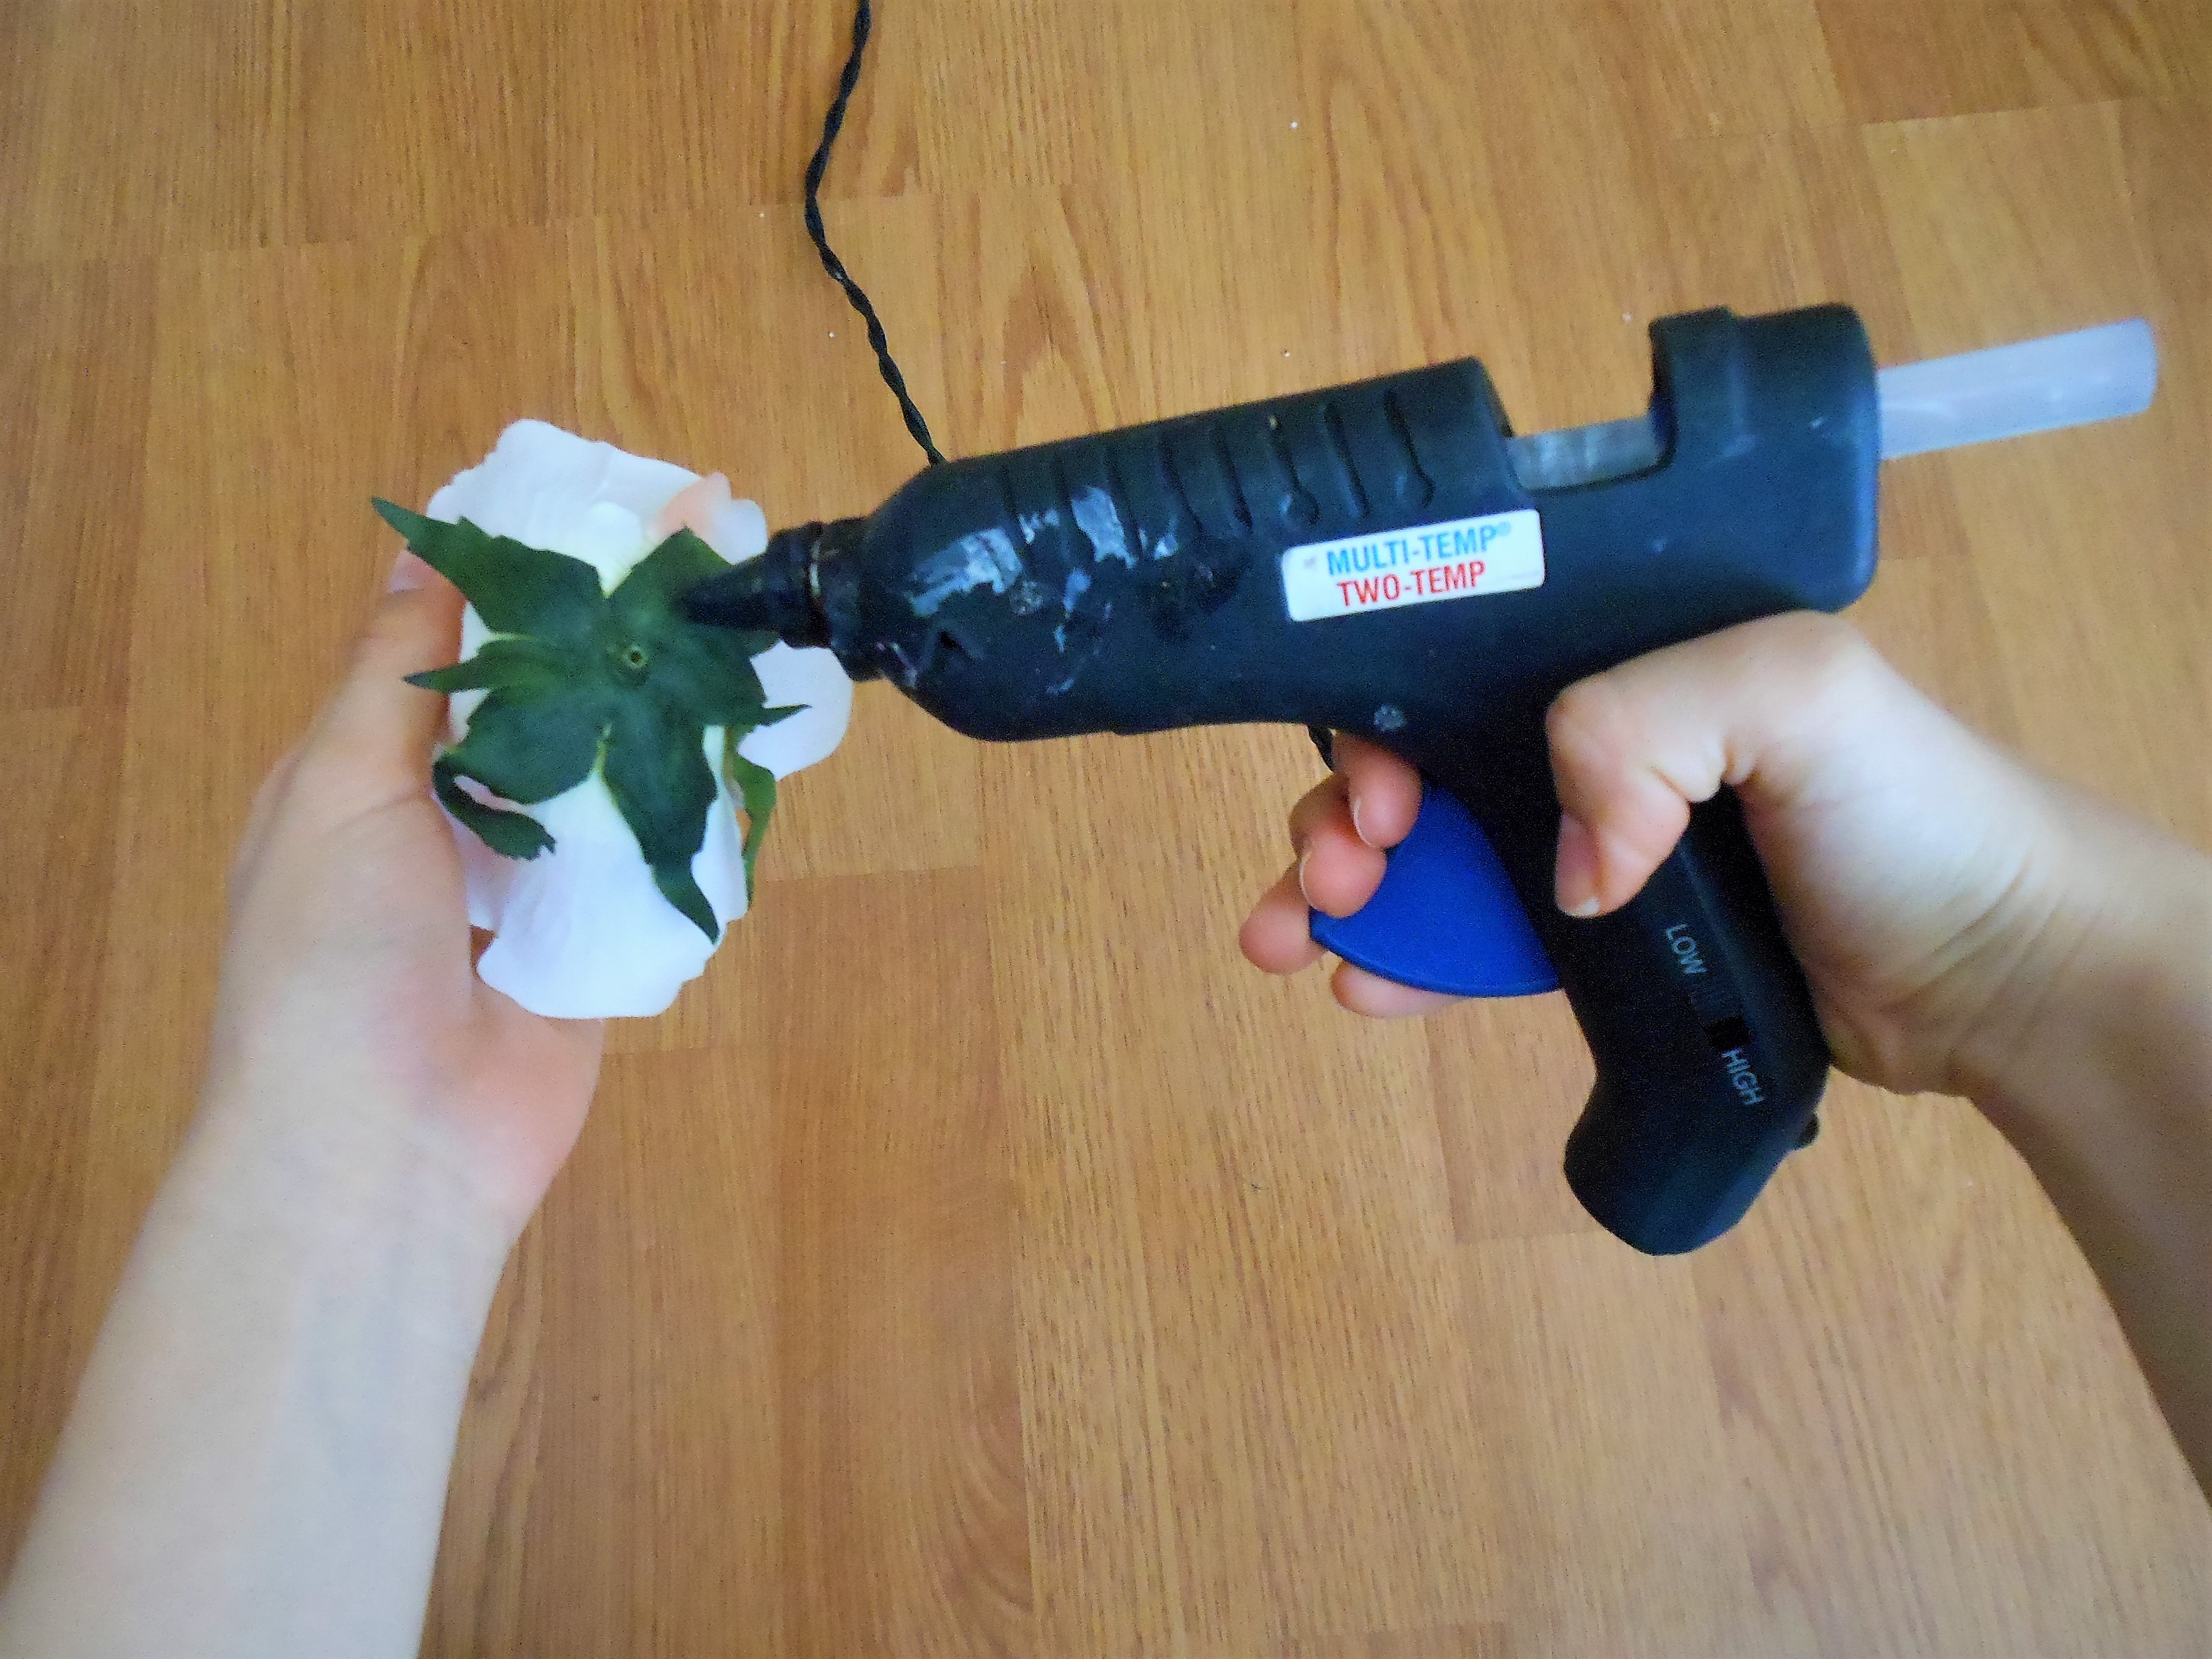
Now is the time to warm up a hot glue gun so as to add artificial flowers to the wreath. I went with three medium to large flowers. I only wanted to add some to the thin part of the wreath but more flowers could be used to cover the entire wreath.
Cut off the stems and place the flowers on the wreath to check the position that they fit best. Once you are satisfied with their placement, add hot glue to the base of a flower and apply it to the wreath. Press firmly and hold for a minute to ensure it is well-adhered. Repeat with additional flowers.

Hang and enjoy! You now have a customized wreath that you can use to jazz up any wall space.
Let me know if you give this a try!
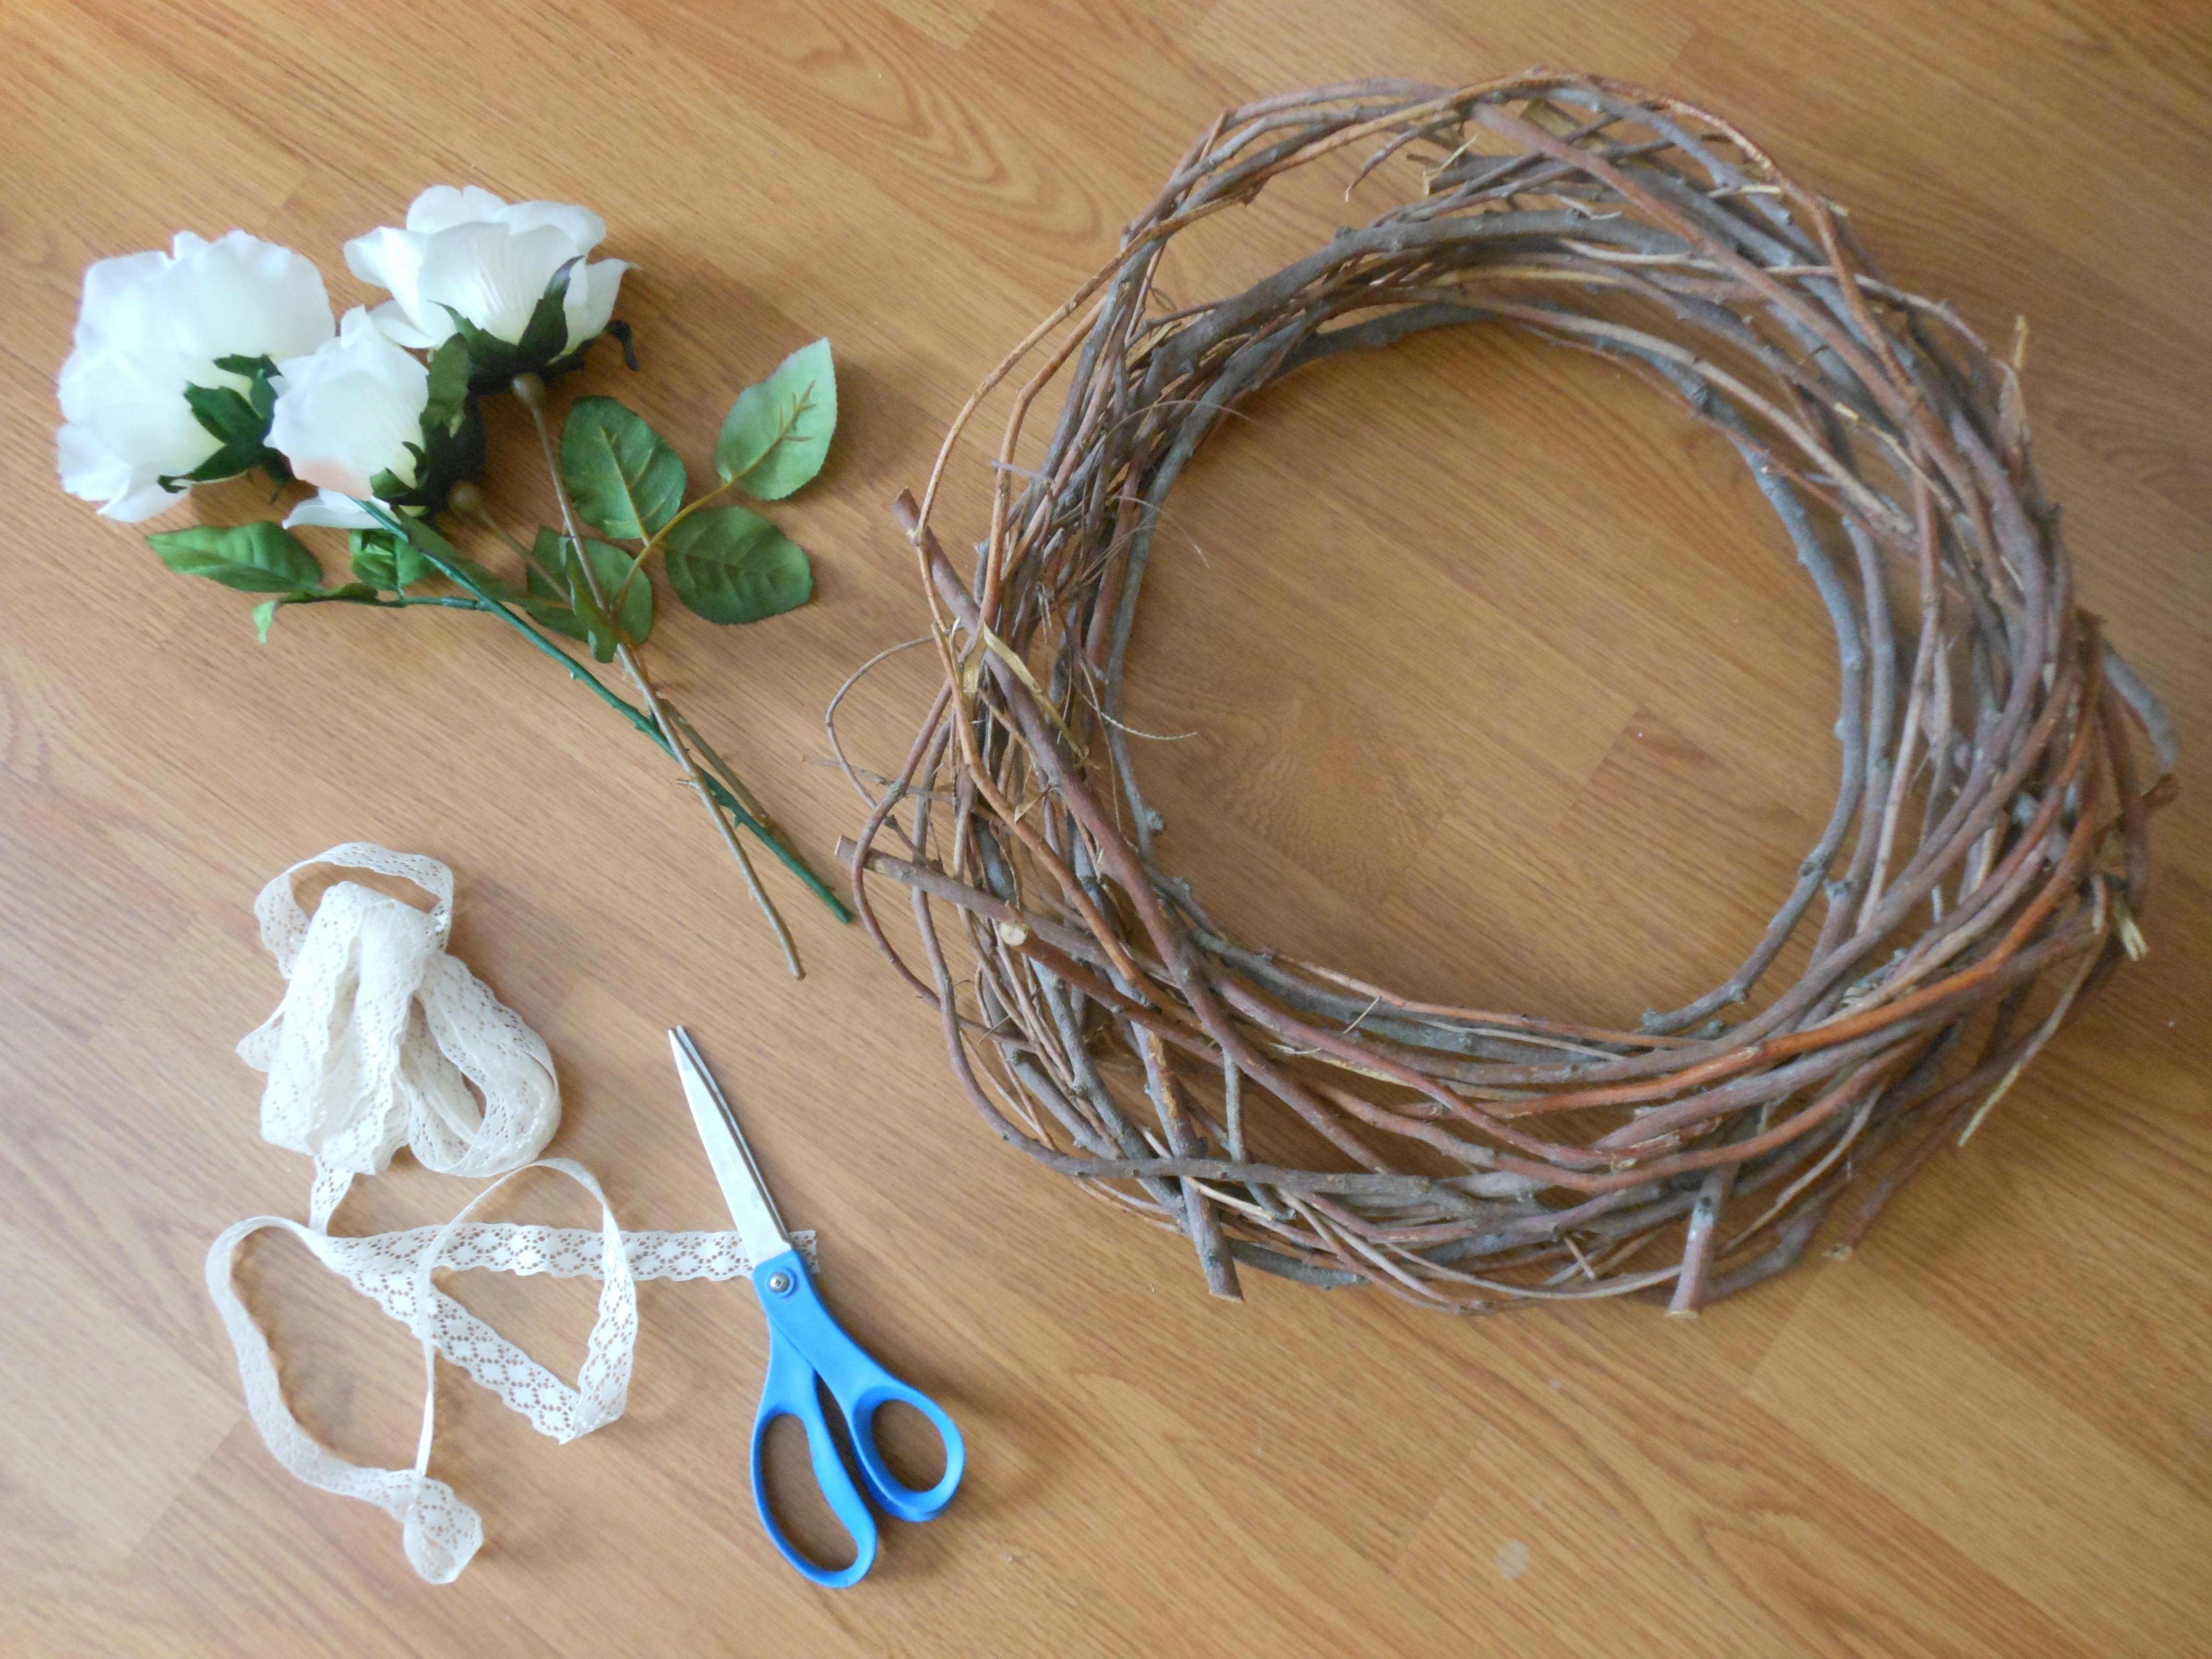
For the Wall Wreath I used:
A store-bought or homemade wreath
A long ribbon, about 2 ½-3 yards
Artificial flowers**(See post for alternatives)
Scissors
A hot glue gun
Sawtooth hanger (optional; I didn’t use one)
*If you are making your wreath by hand, use a large bucket to shape the branches around it. Keep in mind: green branches are softer and easier to bend into a wreath shape. Use zip ties to hold the branches in place as you layer them, intertwining the branches as best you can. As I mentioned, flexible branches are ideal for this. Layer the branches and zip tie them together until the wreath is as thick as you would like it to be. Leave the zip ties and let the wreath set in the sun for 5-7 days, or until branches are no longer green. Once the wreath is dry, now you can decorate it. See above post.